TUNE: Reports
All the information you need about how to generate, read, and save your reports.
Configuring Options
Date Range
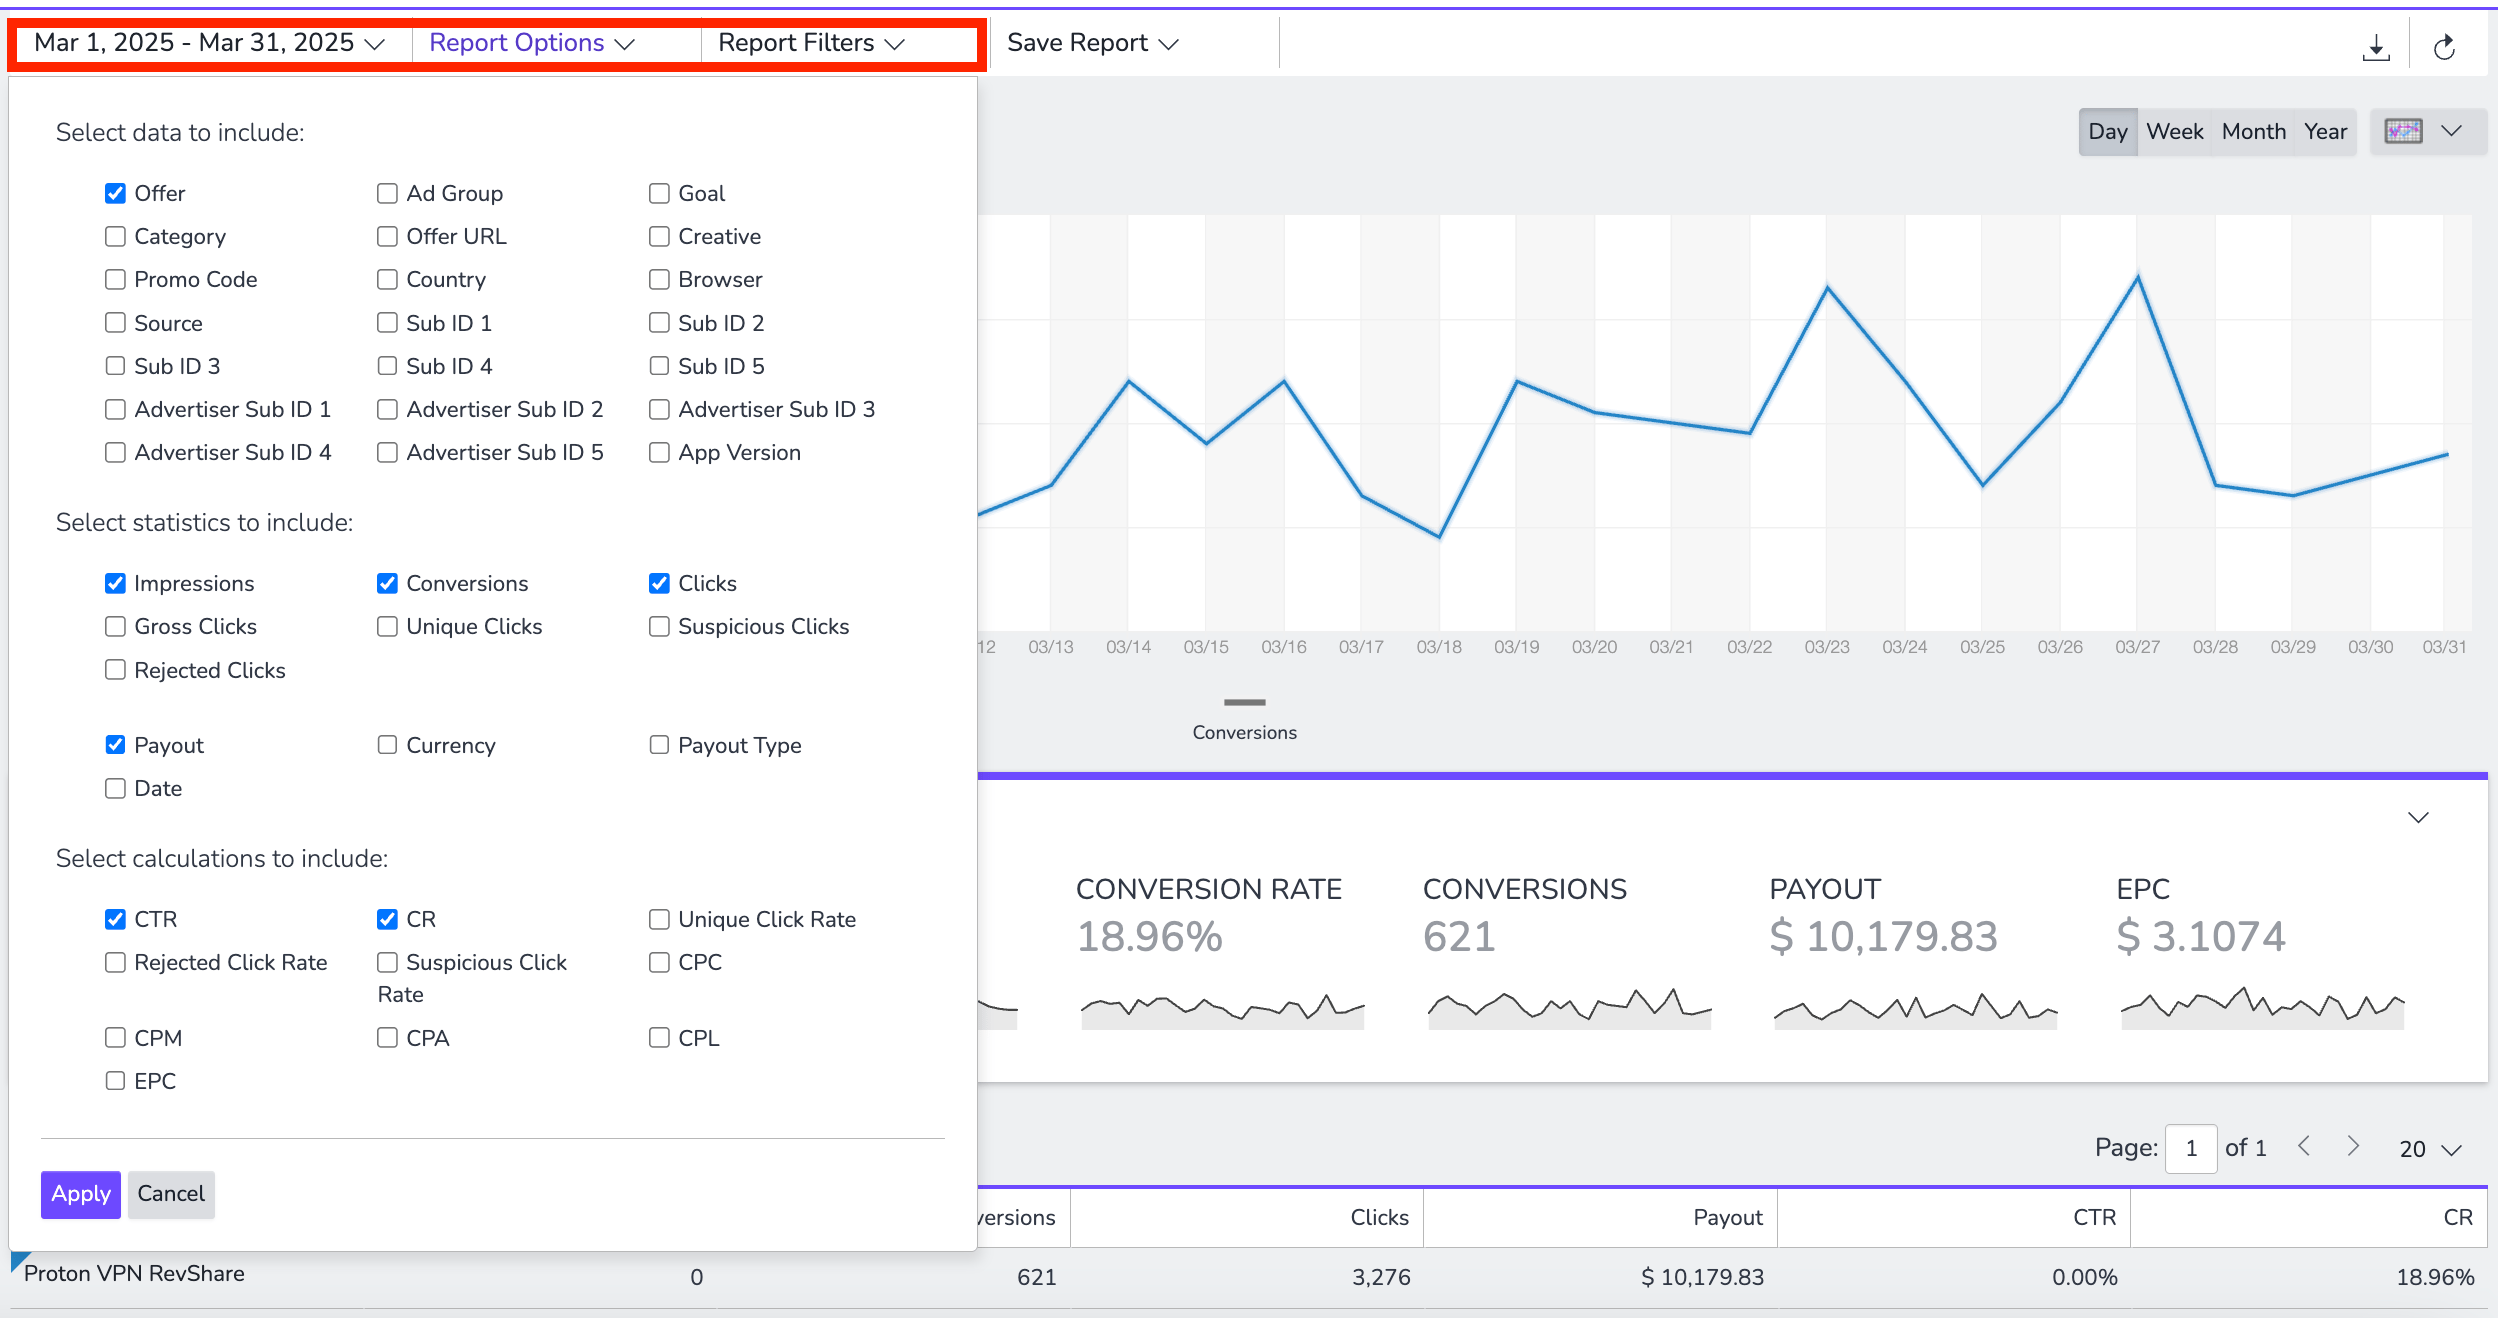
The date range is the period to view. This defaults to the past seven days, but you can choose from a preset or a custom date range. You may also change the time zone in this menu. Note that any changes to the time zone will remain in effect until it is switched back in this menu. Once selected, click "Apply" for the changes to reflect in the report.
Report Options
Select which data, statistics, and calculations to include in your report by checking or unchecking the boxes under the "Report Options" menu. These options vary depending on the report selected. Remove filters by clicking the "X" next to them. Click "Apply" once you have made your selections.
Report Filters
Specify the data points to view in the report by adding "Report Filters". For example, add a filter under this menu to view the performance of a specific offer or perhaps offers in a specific category. Once all the desired filters have been added, click "Apply".
Performance Report
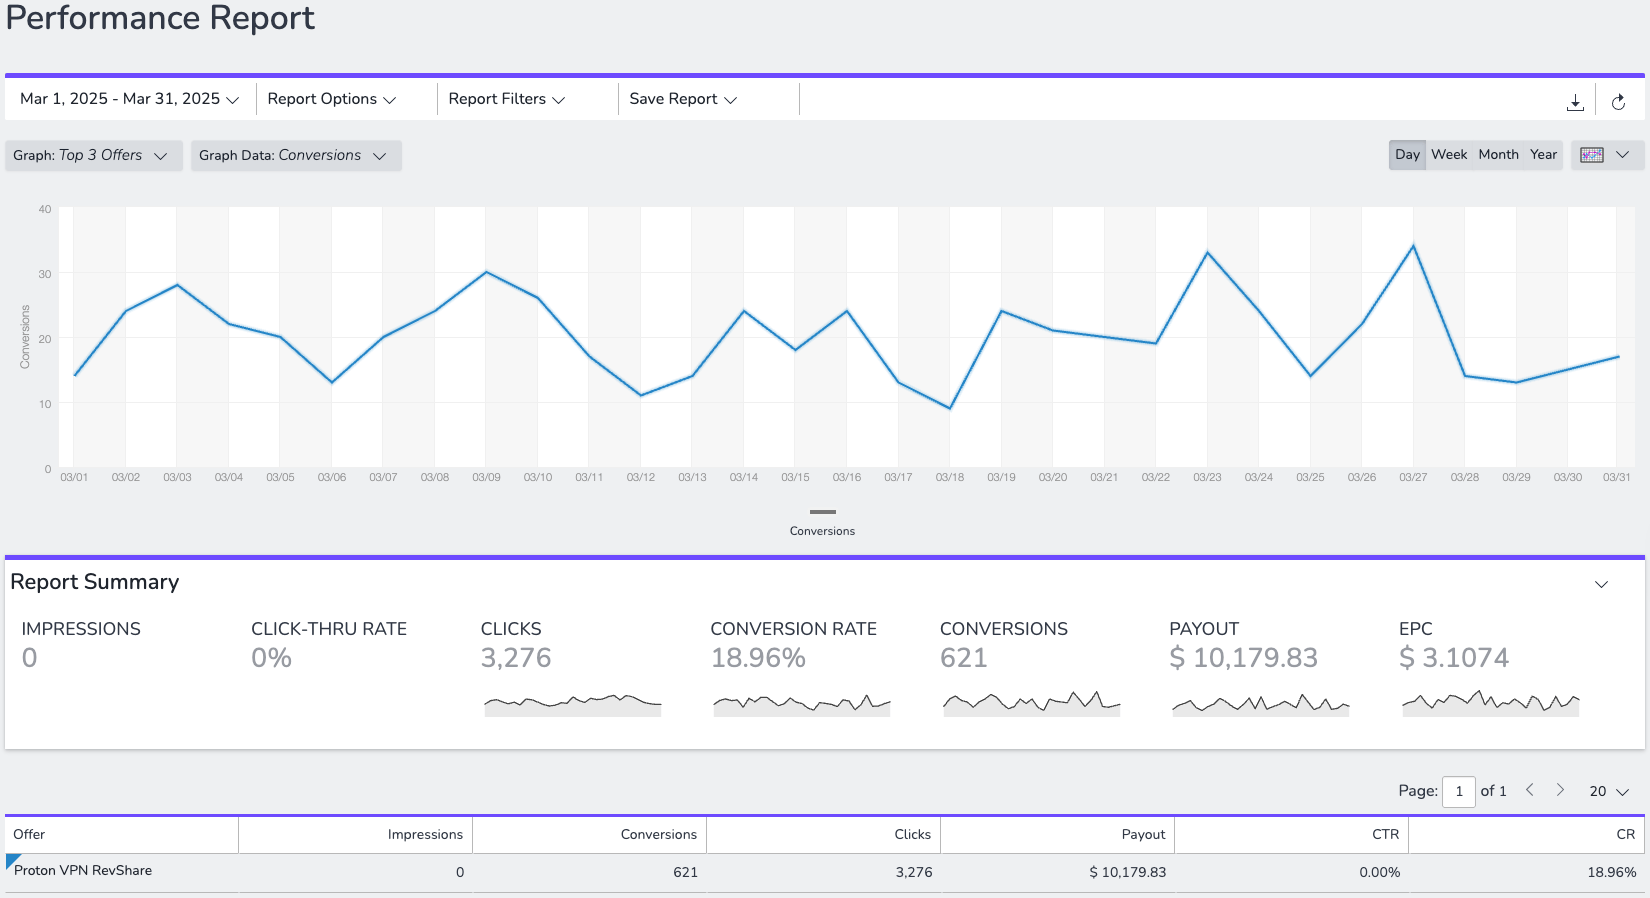
The "Performance Report" is where you view the general performance of all offers. Data in this report includes specific details about all clicks, conversions, impressions, and goals, making it an excellent resource for understanding how to optimize and troubleshoot any discrepancies you may find.
Data from the Performance Report is shown in a graph, summary, and table.
Performance Report Granularity
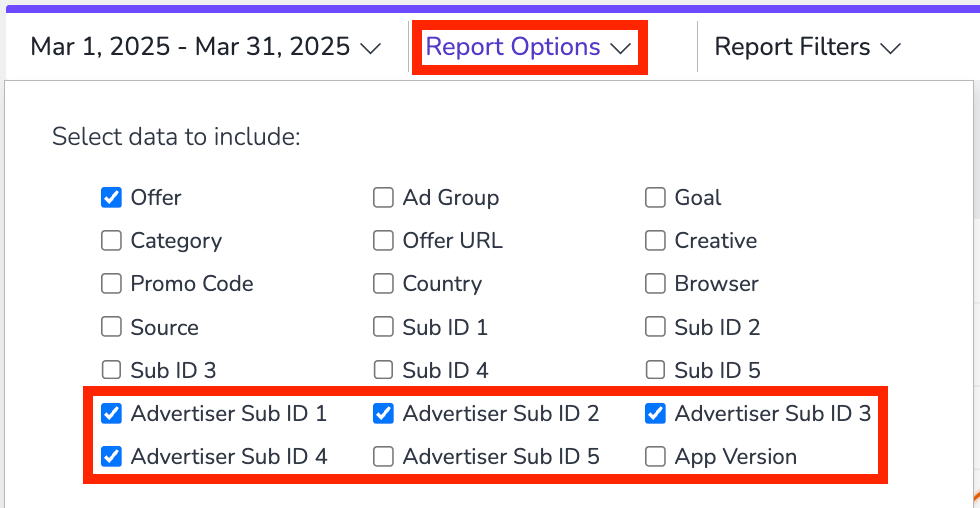
To better understand what type of conversion, what product, and plan duration was generated through your tracked link, you can select the Advertiser Sub IDs from 1 to 4 in the Report Options.
Advertiser Sub ID 1: The event type, such as paid subscription or renewal.
Advertiser Sub ID 2: The product (vpn, mail, drive, pass, bundle, etc.)
Advertiser Sub ID 3: The plan duration in months.
Advertiser Sub ID 4: If it is a direct paid subscription or an upgrade from a free plan.
Conversion Report
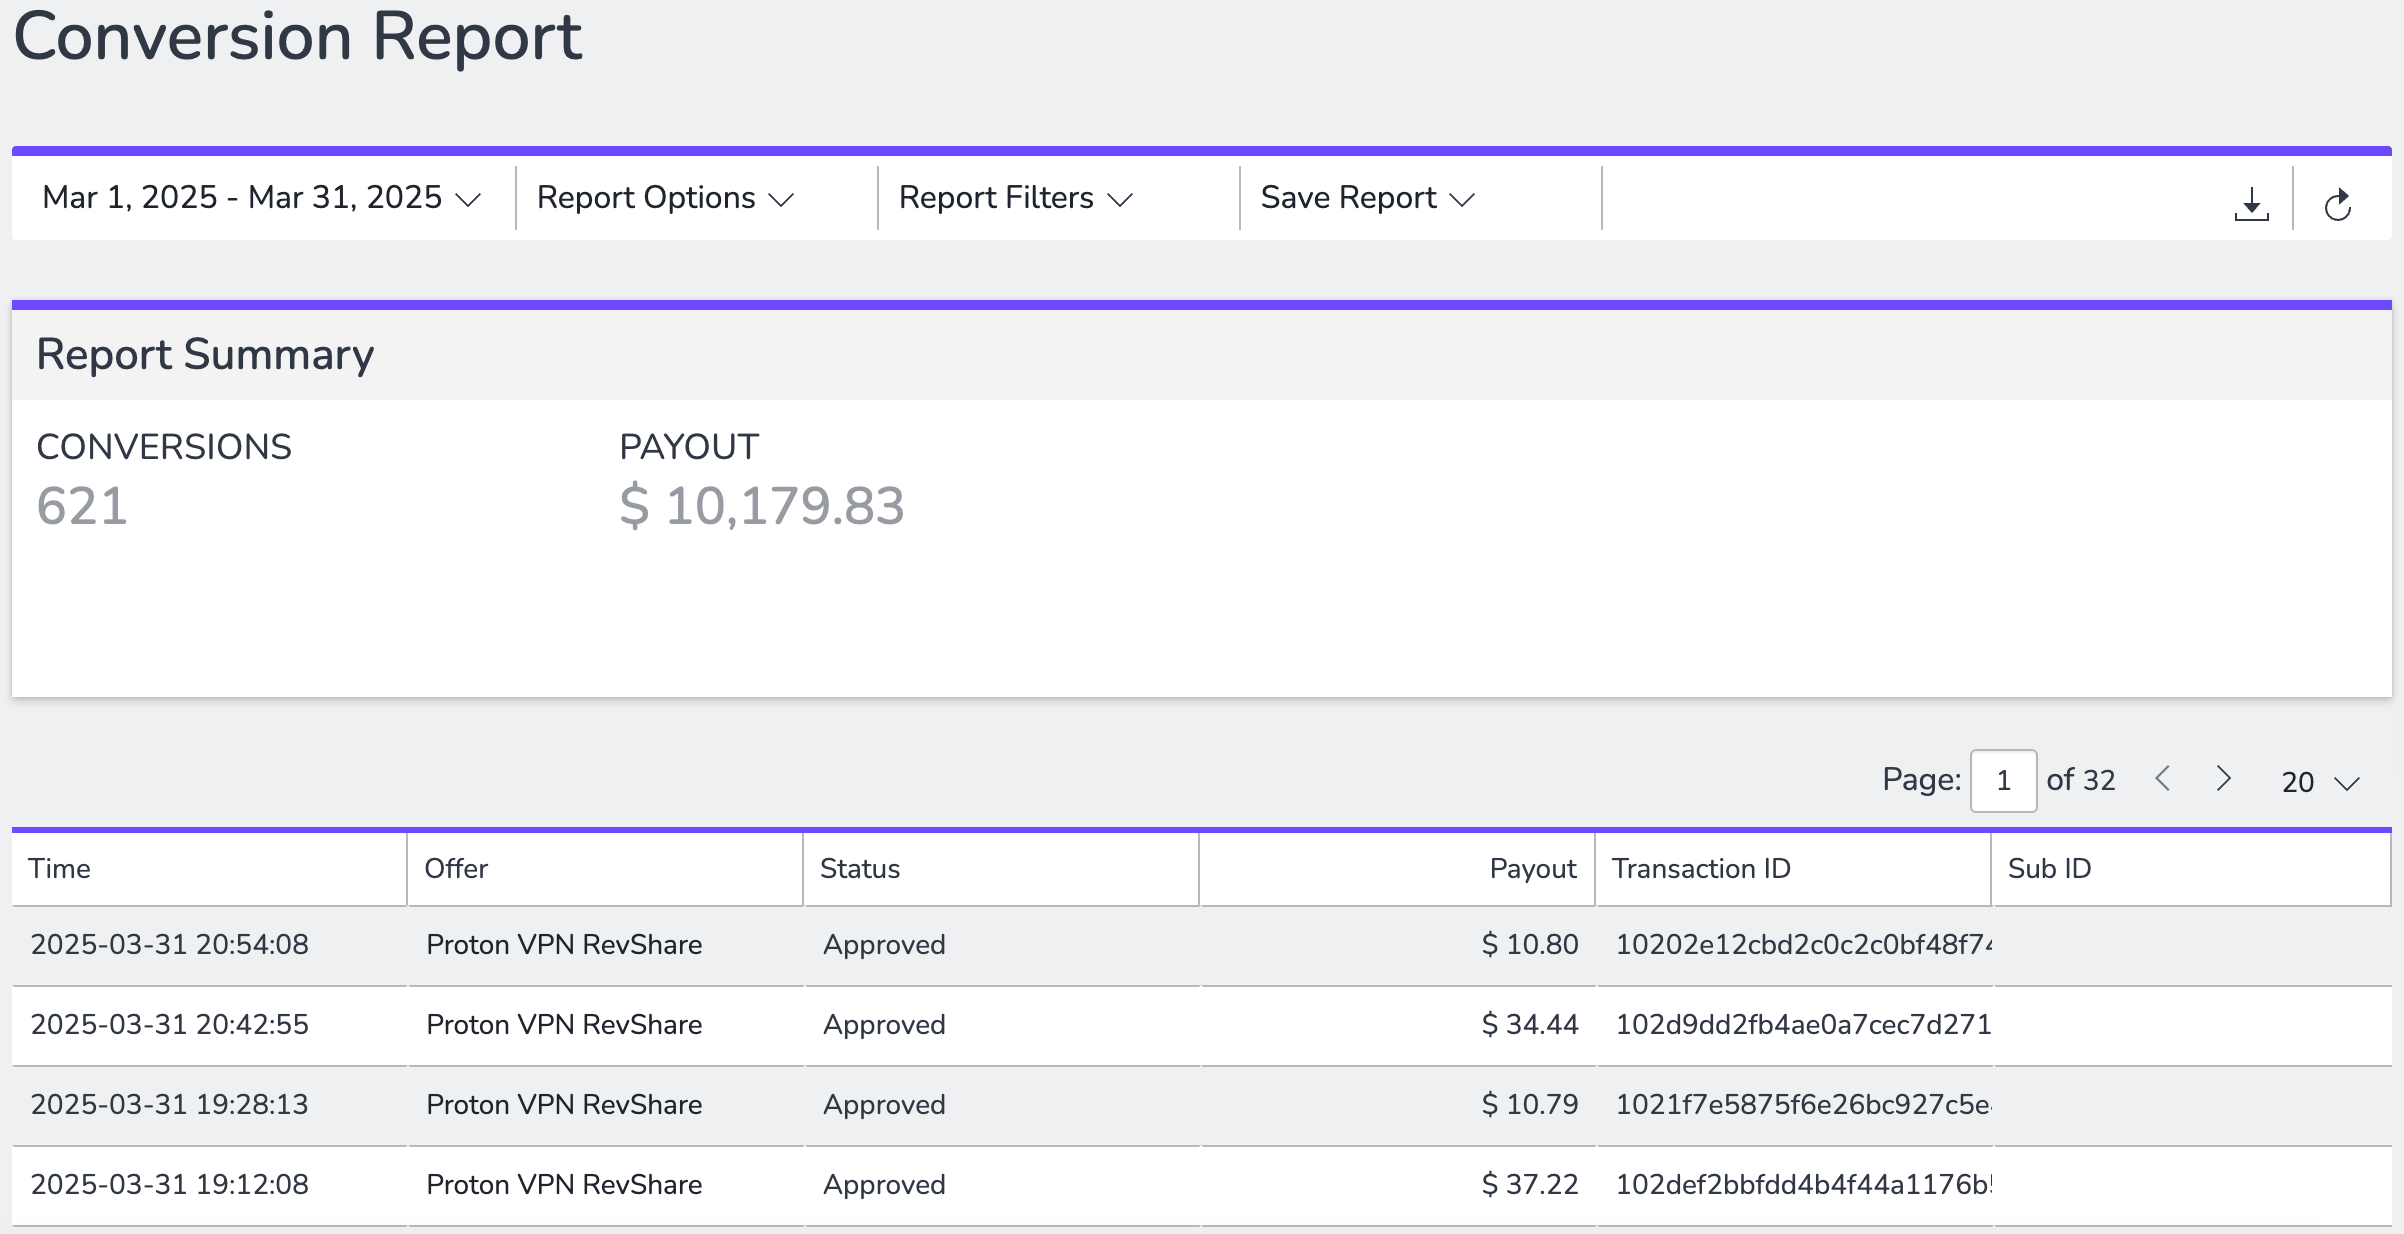
The "Conversion Report" contains the same information as the "Performance Report" without click or impression data. This report strictly lists traffic that has been converted. The clicks listed here are what comprise the ad network's payout amounts. Additional columns will be appended to the table as additional options are checked under the "Report Options" menu.
Saving Reports
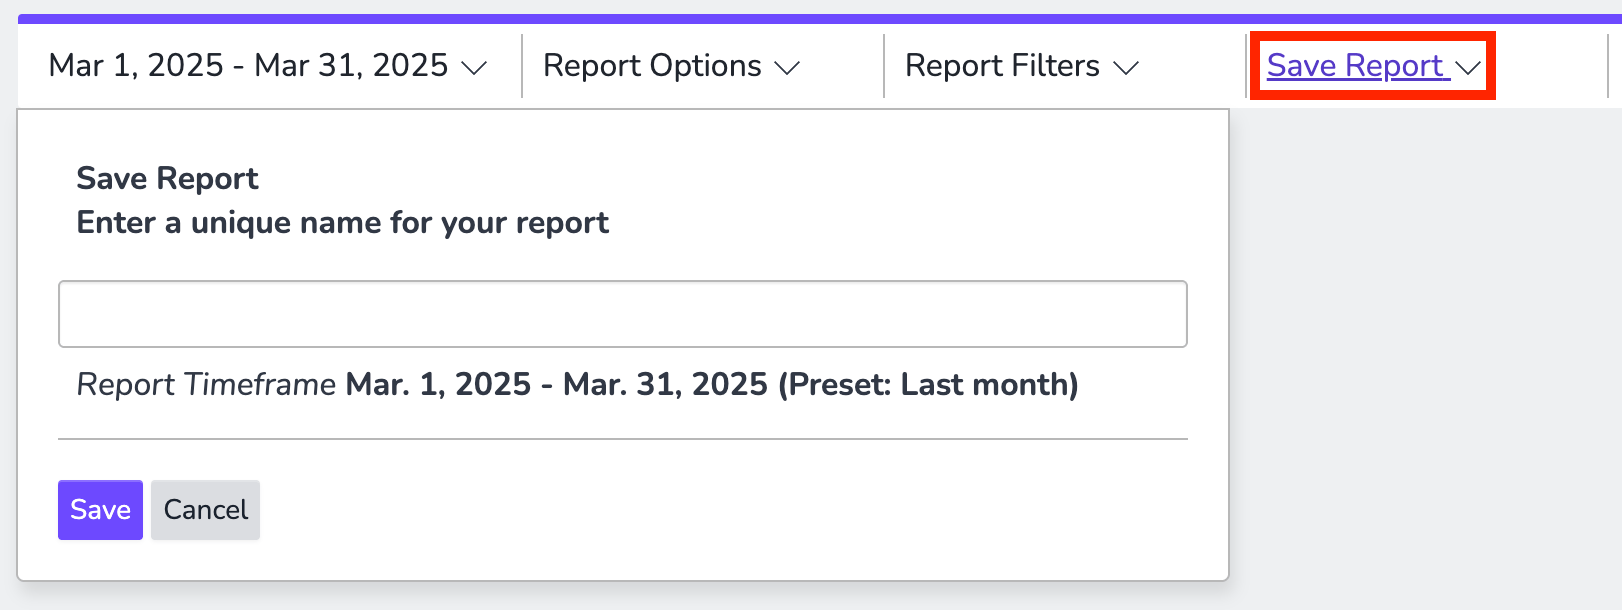
After you've set the desired report options in any of the report types, you can save the report to access later by clicking Save Report. Once you click Save Report, enter a name for the report, then click Save.
Access these reports under the "Saved Reports" section. Here, two "Default Reports" are available for everyone, and any "Custom Reports" you have saved. Click on the name of the report to view or make any changes to it. You can also delete the report by clicking "Delete".