Proton

How to import emails using the Import-Export app

Reading
4 mins
Category
Import and export app

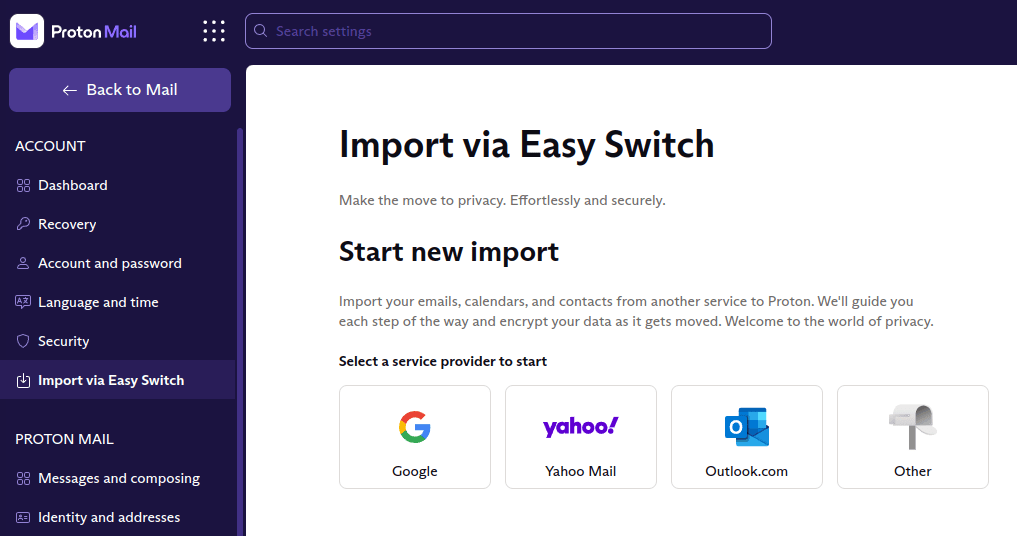
The recommended way to import emails (and contacts) into your Proton Mail(new window) account is using our Easy Switch tool.

Learn more about how to migrate to Proton using Easy Switch(new window)

But you can also use the older Import-Export app, which is available to everyone, including people on a Proton Free plan. This article explains how to use it to import emails to your Proton Mail account from another email account or from a local MBOX or EML file on your device.

When you import email files using the Import-Export app, they are immediately encrypted using your public key.

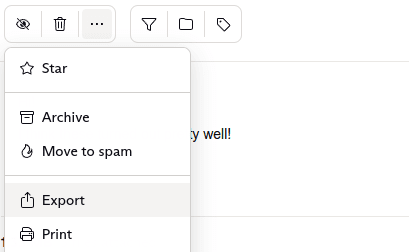
You can also transfer your emails and contacts out of Proton Mail.

Learn how to export your emails using the Import-Export app(new window)

Getting started

Download the Import-Export app.

Download the Import-Export app for Windows
Download the Import-Export app for Mac
Download the Import-Export app for Linux (DEB)
Download the Import-Export app for Linux (RPM)
Download the Import-Export app for Linux (PKGBUILD)

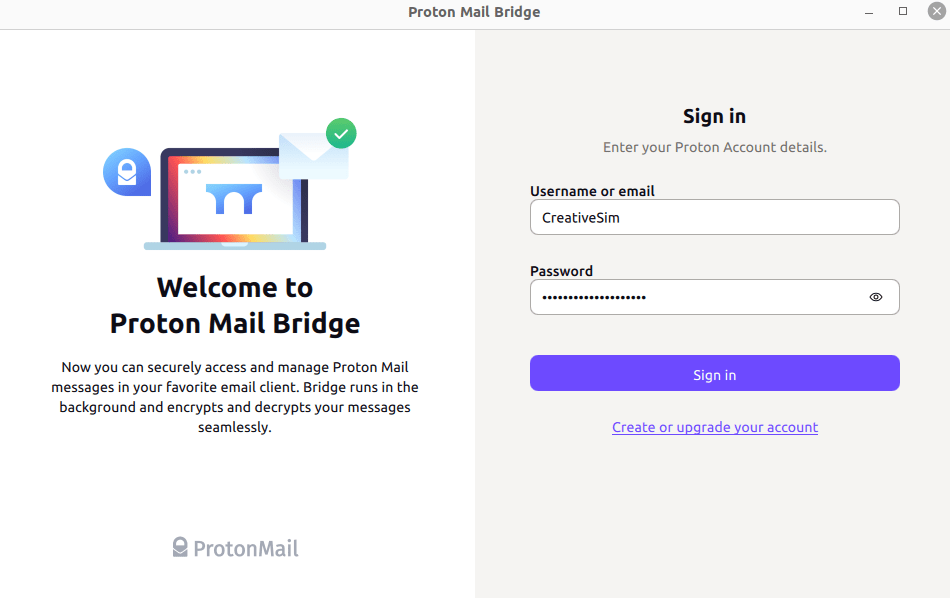
Then log into the Import-Export app using your Proton Mail username and password.

Next, click on your username to reveal a list of your email addresses. Select the email address where you want to import the emails by clicking on the Import button to the right of the address.

Then you are given two choices: Import from account or Import local files. If you want to import emails from another cloud email service, such as Gmail or Yahoo, click on Import from account.

If you want to import emails from files stored locally on your device, including from an email client, such as Apple Mail, Outlook, or Thunderbird, click on Import local files.

Below we explain the next steps depending upon which option you’ve chosen.

Import local files

1. After clicking on Import local files, you will be prompted to select the folder on your device which contains files you want to import. The program recursively searches your folder structure for MBOX and EML files.

Learn more about the difference between MBOX and EML files(new window)

2. Selected folder structure will appear in the “From” column on the left. To the right of the arrow, you will have the option to choose:

  • The folder in your Proton Mail account where you would like to import the emails (you may also select Do not import next to any folders from which you do not want to import emails);
  • The label you would like to apply to these emails, if any;
  • And the date range of the emails you want to import. (If you do not specify a date range, all emails will be imported.

There are also optional “Master import settings”. With these settings, you can apply a date range to all the folders you are importing from and a label to all the emails you are importing.

3. Click Import.

Import from account

1. To import emails from another email account, you may first need to adjust your settings on that account. Read our article about allowing IMAP access(new window), which explains the process for some major email providers.

2. Then enter the email and password for the account you are importing from. If you have completed step one properly, the server address and port number will be filled in automatically.

3. Click Next.

4. A new window will open where you can select which emails you would like to import and where you would like them to appear in your Proton Mail account.

The From column lists the folders in the email account you are importing from. Each has a set of corresponding options to the right of the arrow. These allow you to select:

  • The folder in your Proton Mail account where you would like to import the emails (you may also select Do not import next to any folders from which you do not want to import emails);
  • The label you would like to apply to these emails, if any;
  • And the date range of the emails you want to import. (If you do not specify a date range, all emails will be imported.

There are also optional Master import settings. With these settings, you can apply a date range to all the folders you are importing from and a label to all the emails you are importing.

5. Click Import.


Didn’t find what you were looking for?

General contactcontact@proton.me
Media contactmedia@proton.me
Legal contactlegal@proton.me
Partnerships contactpartners@proton.me