How to set up the Proton Pass macOS app
- Čtení
- 3 minut
- Kategorie
- Using Proton Pass
In this article, we show you how to install the Proton Pass macOS app. If you have a paid Proton Pass plan, the Mac app allows you to access your items offline. If you want to save and autofill logins directly in your browser, you can use our browser extensions for:
- Safari
- Chrome
- Brave
- Firefox
You can also access Proton Pass on your Mac using the Pass web app (inside a browser window) or downloading the desktop app(nové okno).
How to install and set up the Proton Pass macOS app
How to turn on biometric login
How to import passwords to Proton Pass
How to install and set up the Proton Pass macOS app
By default, macOS only allows apps to be installed from the App Store. To install the Proton Pass app, you’ll need to adjust your Mac’s settings to allow apps to be installed from other sources.
To do this (if you haven’t done so already), open the Settings app → Privacy & Security → Security → Download applications from and select App Store and identified developers.

1. Sign up(nové okno) for a Proton Pass account. If you use any other Proton service (such as Proton Mail, Proton VPN, or Proton Drive), you automatically have a Proton Pass account. Just sign in with your existing Proton Account username and password.
2. Download the Proton Pass app.
3. Locate the downloaded DMG file in Finder (by default, it’ll be in your Downloads folder), double-click on it, and drag Proton Pass to your Applications folder.

4. Launch Proton Pass from Launchpad and click Open at the security prompt.

5. Sign in with your Proton Account username and password (and 2FA code if you’ve enabled it).

How to turn on biometric login
Please note that you’ll need to be using the latest version of the Proton Pass app (v. 1.21.0 or later) to use biometric authentication for desktop.
If you have a paid Proton Pass account, you can also use biometric authentication to unlock Pass on macOS. Biometric authentication is available for mobile on both free and paid plans. Find out how to use biometric authentication on iOS and Android devices.
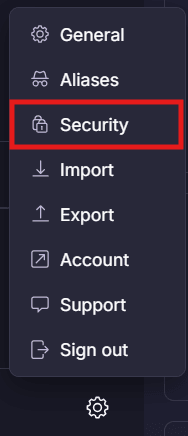
To enable biometric login for the macOS Pass app, select ⚙ Settings → Security
In the Unlock with section, choose Biometrics.
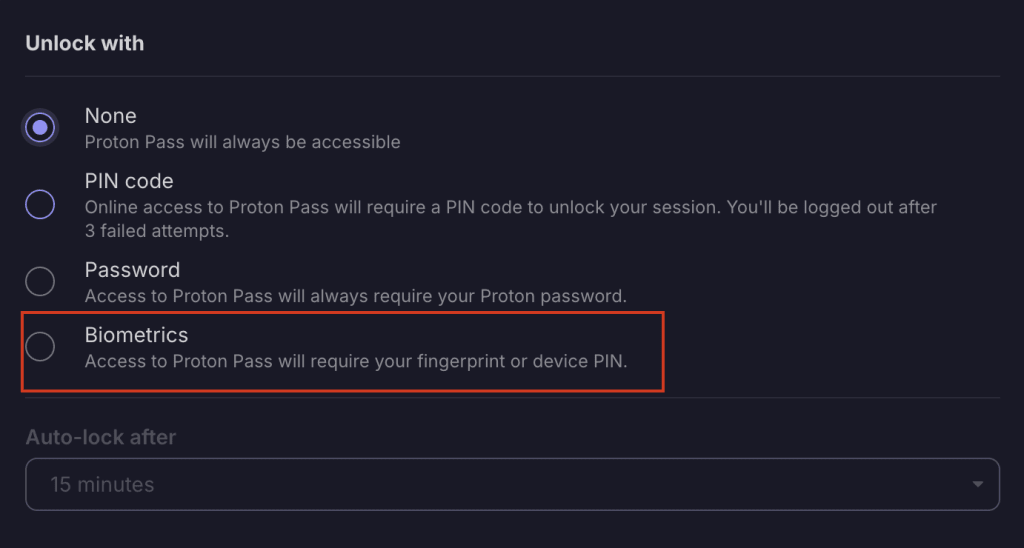
Follow the steps to add your biometric login, and you’ll receive a prompt at the bottom of your screen that you’ve been successful.

Next time you sign into Proton Pass, you’ll see this screen.
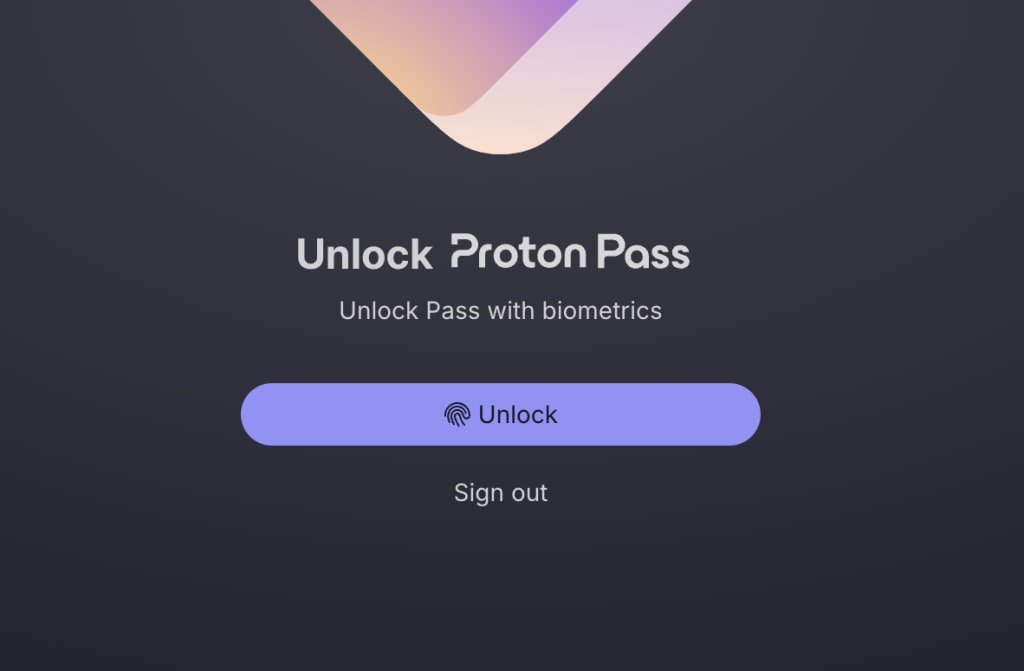
Click Unlock and use your fingerprint to log in. You’ll then be prompted to allow Proton Pass to use your Touch ID.

Confirm that you’d like to use Touch ID to log in and you’ll be able to access your account.
How to import passwords to Proton Pass
If you’ve used a password manager before, the first thing you probably want to do is import your logins from it.
And that’s it! You can now easily access your saved passwords, notes, hide-my-email aliases, and credit card details from the convenience of a desktop app.