How to set up Proton Pass for Windows
The Proton Pass Windows app allows you to manage your items directly from your desktop, both online and offline. You can set up the Windows app in just a few clicks by following the steps below.
How to install and set up the Proton Pass Windows app
How to turn on biometric login
How to import passwords to Proton Pass
How to install and set up the Proton Pass Windows app
First, you’ll need to download the Windows app.
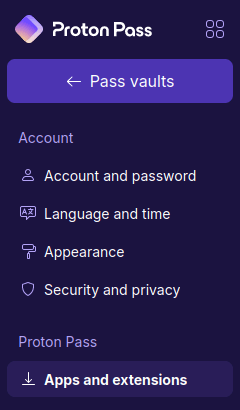
You can go to our downloads page or the Apps and extensions section in your Proton Pass settings.
Once you’ve downloaded the ProtonPass_Setup file, you’ll need to open it. Find the downloaded file (it should be in your Downloads folder unless you specified another location) and double-click on it.

The app will start and direct you to a login page. Log in using your Proton Account username and password, and the app will open.
For further instructions, please see our guide on how to use the Proton Pass Windows app.
How to turn on biometric login
If you have a paid Proton Pass account, you can use biometric authentication to unlock Pass on Windows. Biometric authentication is available for mobile on both free and paid plans.
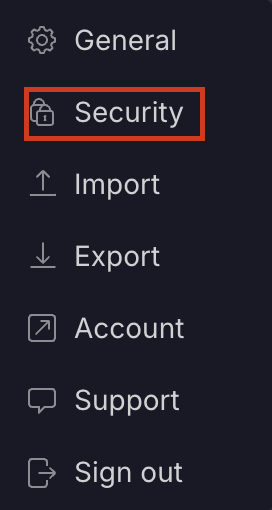
To enable biometric login for Pass, select ⚙ Settings → Security
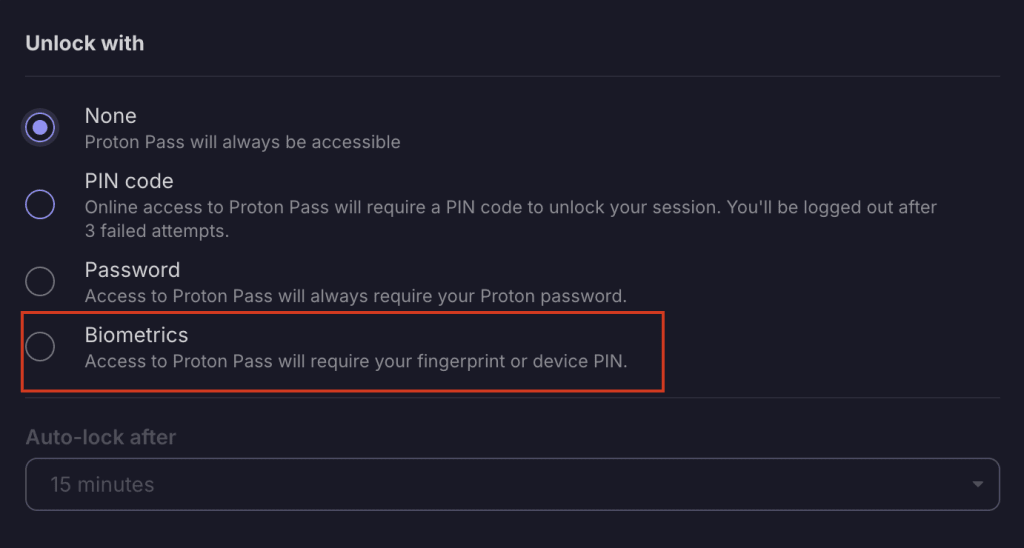
In the Unlock with section, choose Biometrics.
Follow the steps to add your biometric login, and you’ll receive a prompt at the bottom of your screen that you’ve been successful.

Next time you sign into Proton Pass, you’ll see this screen.
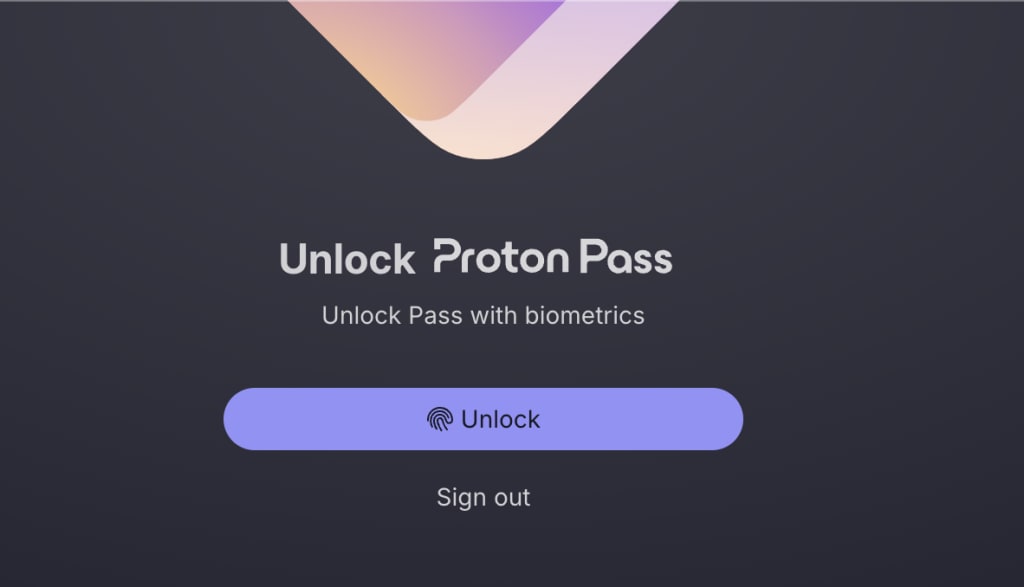
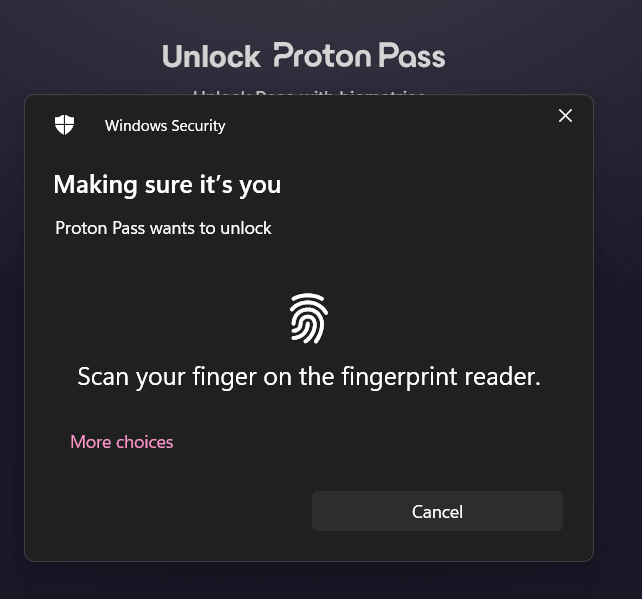
Click Unlock and use your fingerprint to log in. You’ll then be prompted to allow Proton Pass to use your fingerprint reader.
How to import passwords to Proton Pass
If you’ve used a password manager before, the first thing you probably want to do is import your logins from it.
And that’s it! You can now easily access your saved passwords, notes, hide-my-email aliases, and credit card details from the convenience of a desktop app.