How to set up SCIM on Microsoft Entra ID
SCIM (System for cross-domain identity management) is a protocol that you can use to automate data provisioning between your domains, applications, and systems. You can use it to exchange user data and provisions between Microsoft Entra and your Proton Pass for Business account if you have administrator privileges.
Please note that in order to set up SCIM, you’ll need to set up SAML (Security Assertion Markup Language) first. You can find out how to do that in our article explaining how to set up SSO for Proton Pass using Microsoft.
Set up SCIM
To set up a SCIM integration with Proton Pass, log into your Microsoft Entra account. From here, select Applications → Enterprise applications

Select the Proton application you originally created to set up SSO and then select Provisioning

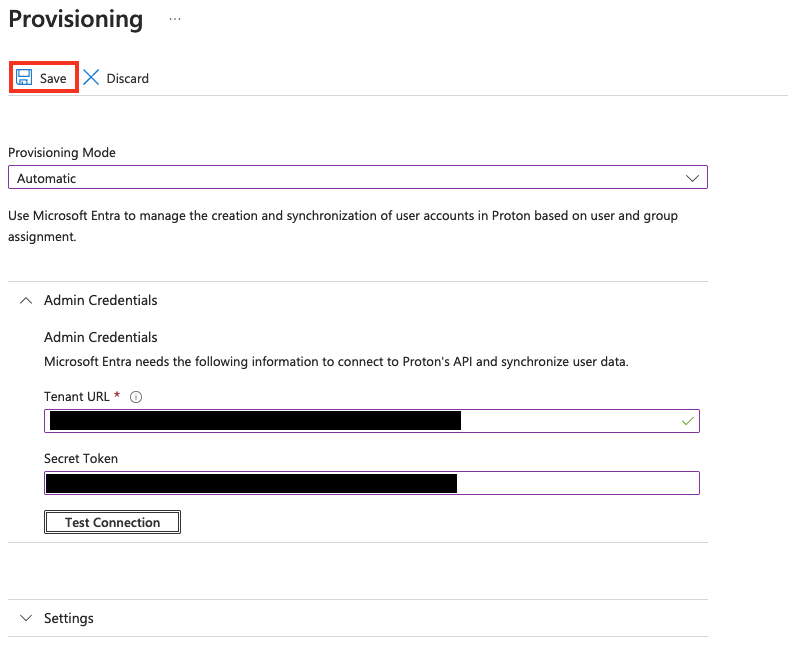
Under Provisioning mode, select Automatic and then you’ll need to locate the right information to enter in the tenant URL and Secret token sections in your Proton Pass account.

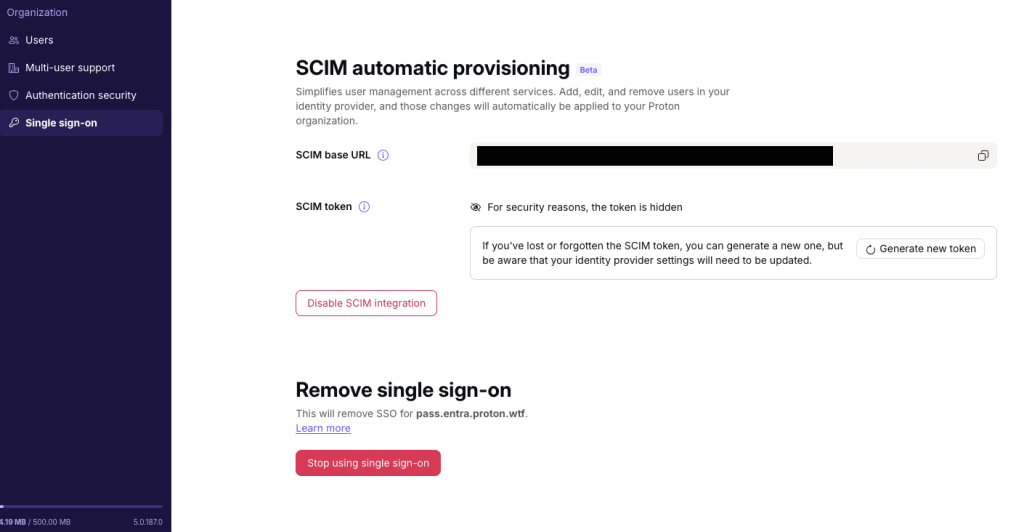
Log in to your Proton Pass for Business admin panel and under your Organization tab, select Single sign-on. Scroll down to find SCIM automatic provisioning. Here you’ll find SCIM base URL which you should enter in the tenant URL, and SCIM token which you should enter in Secret token.
Due to SCIM compatibility issues within Entra ID, it is recommended to add ?aadOptscim062020 at the end of your tenant URL to make Entra ID SCIM compliant. Find out more about SCIM compatibility in Entra ID(nyt vindue).

Once you’ve filled these sections, select Test connection and once Microsoft Entra confirms that the connection has been successful with a pop-up box, select Save.

You can now view and manage your custom application in Microsoft Entra

Add users
Once you’ve created your custom application and connected it to your Proton Pass account, you can add your users and groups.
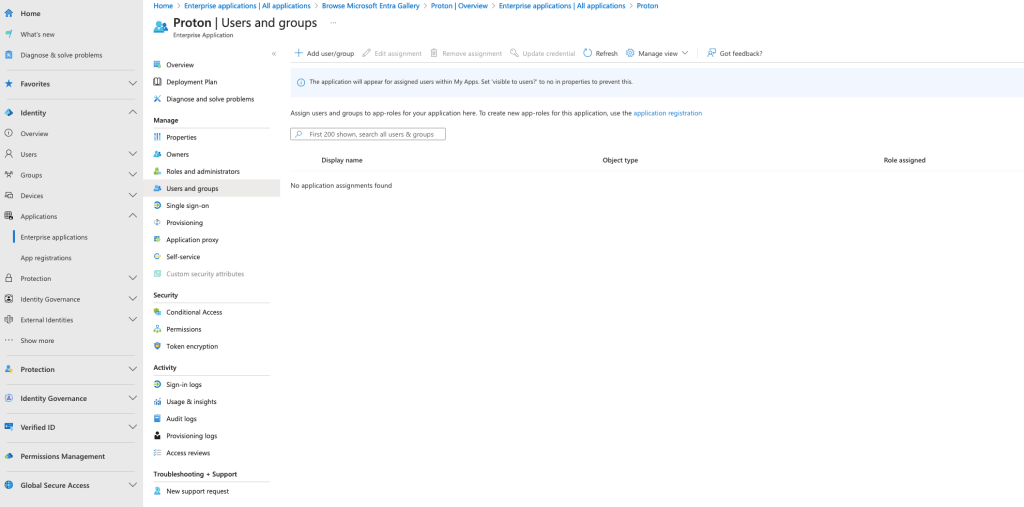
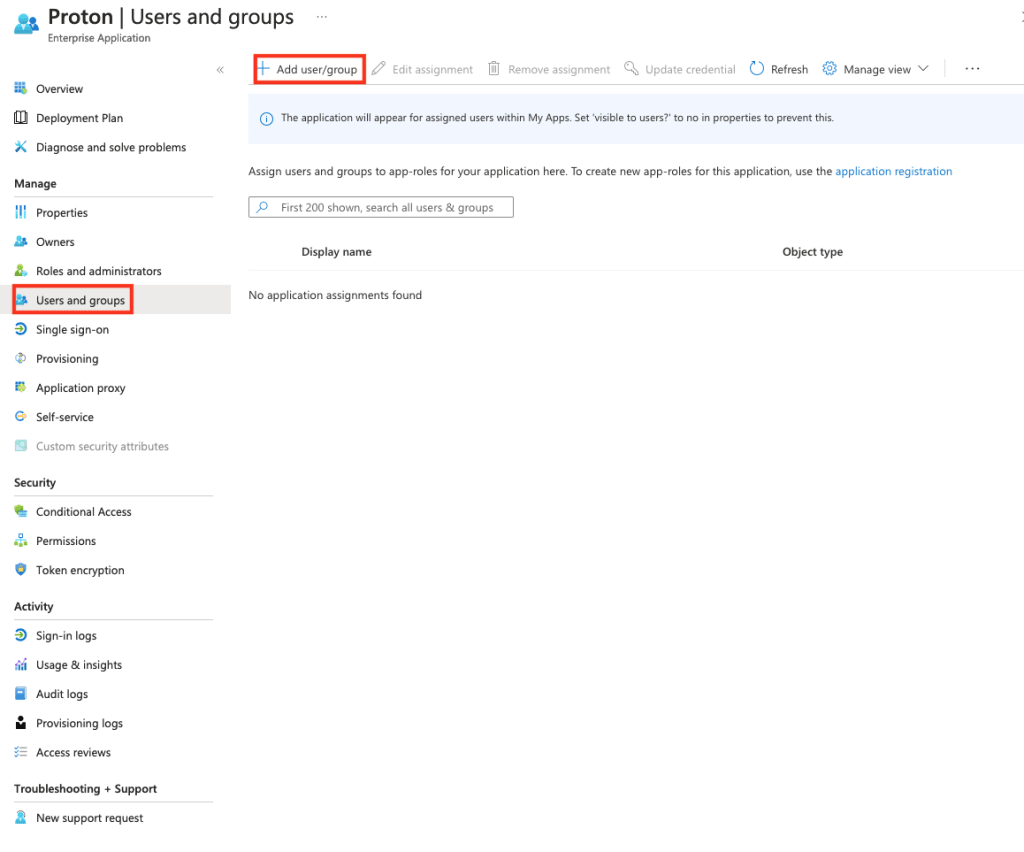
Select Users and groups → Add user/ group

Click on None Selected and you’ll be able to select the users and groups you’d like to add. Once you’ve made your selection, click Select

To confirm that you’d like to add your chosen users and groups, click Assign

You’ll then be able to see, edit, and remove all users in your application from the Users and groups tab

Once your application is configured, you can begin provising by selecting Provisioning → Start provisioning


Invited users will then receive email invitations to join your organization in Proton Pass. Once they’ve accepted the invitation, you can confirm them as users from your admin panel.