How to create, modify, and delete events in Proton Calendar
In this article, we explain how to create new events in Proton Calendar(nieuw venster) and how to modify or delete existing events.
If you have a Proton Free plan, you can create one additional calendar.
How to create events in our web app
To create a new event:
1. Log in to calendar.proton.me(nieuw venster) and do one of the following:
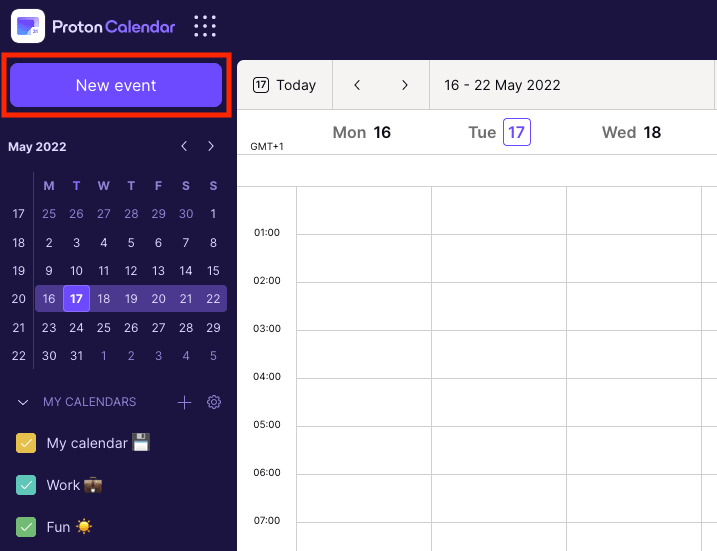
- Click the New event button.
- In Month view, click on any day in the calendar. The date of the event will default to that of the day you clicked on and the time will default to All day. These defaults can be adjusted as required in the next step.
- In Day or Week view, click on a time slot for your chosen day. The date of the event will default to that of the day you clicked on in the calendar and the time will default to the time you clicked on (in half-hour increments). These defaults can be adjusted as required in the next step.
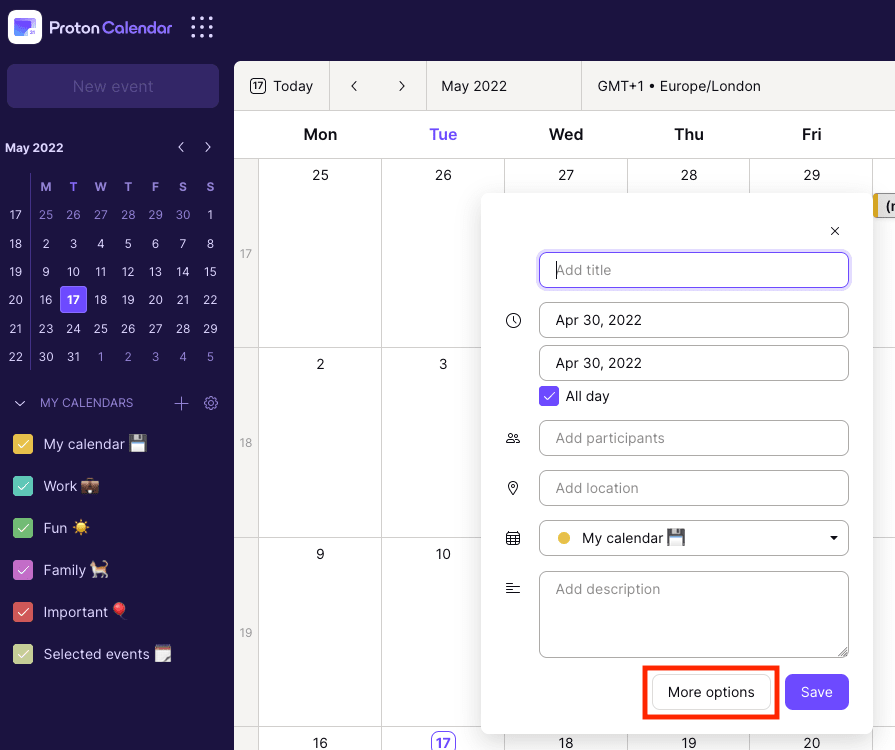
2. If you create an event by clicking on the calendar (in Day, Week, or Month views), a dialogue box will appear that allows you to quickly create an event. Click More options to enter additional information or perform more actions.
If you create an event using the New event button, you will automatically be shown the full More options dialogue.
Either way, give your event a title and specify a date, together with a beginning and ending time (or tick the All day box, as appropriate). If no ending time is specified, Proton Calendar defaults to ending events 30 minutes after the start time.
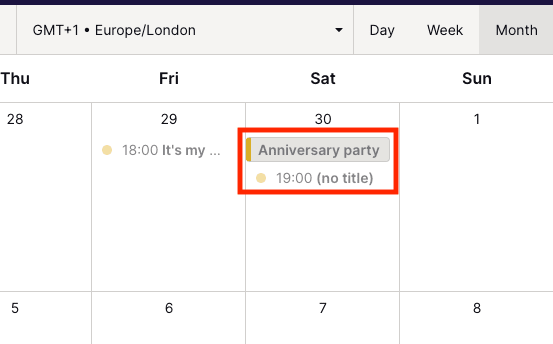
No other information is required, so you can now click Save to create the event. The event will now appear in your calendar.
It is possible, however, to enter additional information and perform more actions.
Add location
Enter information about where your event will occur.
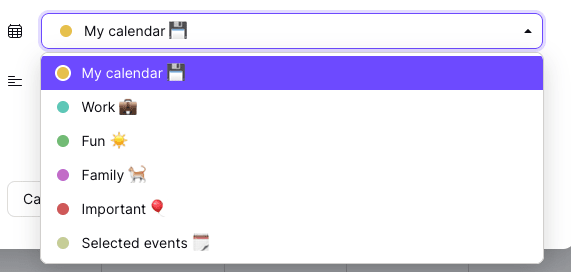
Change calendar
If you have created or imported custom calendars, then you can select which calendar the new event belongs to by clicking the default calendar and selecting another one from the list.
Add participants
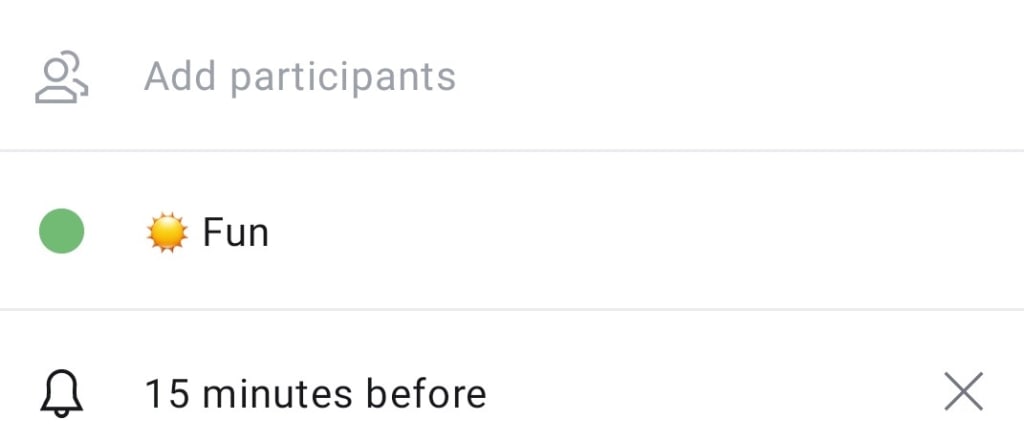
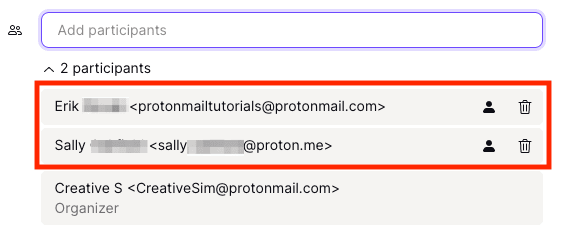
Add the email addresses of participants for your event (Proton Calendar will auto-suggest entries from your Proton Mail contacts as you type). Each participant will receive an invitation to the event.
Learn more about how to send invitations to new Proton Calendar events
Add description
Add any additional information you wish about your event.
Specify a time zone
To change the time zone the event occurs in, click Show time zones and change the settings as required. Click Hide time zones to hide this information.

Set events to repeat
By default, events Do not repeat, but you can set events to repeat every day, every week, every month, or every year. It is also possible to set up a custom recurring event.
Learn more about how to create, update, and delete recurring events in Proton Calendar
Add notification
You can add notifications to alert you about upcoming events. By default, you will receive a notification 15 minutes before the event, but you can add more and/or delete existing notifications (including the default one).
You must enable browser notifications to receive notifications on desktop systems. You will automatically receive event notifications on mobile devices that have the Proton Calendar Android or iOS app installed.
Learn more about Proton Calendar desktop browser notifications
How to edit and delete existing events in our web app
Once an event has been created, click on it in any calendar to view the event details.
To change the details of the event, click the pencil icon, which takes you to the full More options dialogue described above.
You can also Delete an event from here. If the event is a recurring event then you will be asked if you want to delete just this event or all events that you have scheduled.
If you delete the event after sending the invitations, all participants will receive an email to inform them of the cancellation.

How to create events in our Android and iOS/iPadOS apps
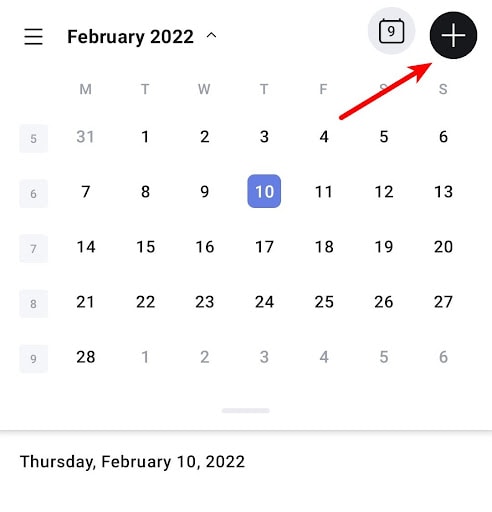
1. Open the app, select a date in the calendar, and tap the + button.
2. Give your event a title and specify a date, together with a beginning and ending time (or tick the All day box, as appropriate). If no ending time is specified then Proton Calendar defaults to ending events 30 minutes after the start time.
No other information is required, so you can now tap Save to create the event. The event will now appear in your calendar.
Alternatively, you can continue to enter additional information and perform more actions. You can also enter additional details at any later time by editing an existing event (see below).
- Change time zone
- Specify a time zone
- Add location
- Add participants (Android only at the present time. You must Allow Proton Calendar to access your contacts if you want it to auto-suggest contacts from your Android address book). Note that you will be able to see participants added via the desktop or Android app on your iPhone or iPad when you view the event details (see below). If you need to add participants using your iOS device, this can be done by accessing Proton Calendar via the web interface, as described above (for example, in Safari).
- Add notifications
- Add description.
Unless otherwise noted, these details and features work as described for creating events in our web app (see above).
Change calendar support is coming to our Android and iOS apps soon. In the meantime, if you change the calendar for an event in the web app, the correct calendar will be displayed in our mobile apps. You can use your mobile browser to change the calendar on your Android and iOS device if required.
How to edit and delete existing events in our mobile apps
Once an event has been created, tap on it in any calendar view to view the event details. Click the Edit (pencil) button to change details about the event.
You can also tap the 3-dot vertical ellipsis icon to Delete the event from here.
If the event is a recurring event then you will be asked if you want to delete just this event or all events that you have scheduled.
You cannot edit or delete or events that have participants in our mobile apps at this time. Please use the web app instead.
