Comment scanner des documents dans Proton Drive
- Lecture
- 2 minutes
- Catégories
- Application Android
- Application iOS
- Proton Drive
Les applications mobiles Proton Drive pour Android et iOS prennent en charge la numérisation de documents. Cette fonctionnalité transforme les pages physiques en fichiers numériques qui sont directement importés dans Proton Drive.
Les documents scannés sont protégés par un chiffrement de bout en bout. L’application peut uniquement accéder aux pages que vous choisissez de conserver, et à rien d’autre dans votre pellicule.
Vous pouvez utiliser la fonctionnalité de numérisation de documents pour importer des accusés de réception, des cartes de visite, des notes de réunion, des croquis, des recettes de cuisine, des labels de produits, des cartes de garantie, des notices de médicaments ou tout autre document dont vous pourriez perdre la trace.
Démarrer la numérisation d’un document
- Ouvrez l’application Proton Drive et connectez-vous avec votre compte Proton. Si vous n’en avez pas encore, créez un compte Proton Drive gratuit.
- Allez dans Fichiers et accédez au dossier dans lequel vous souhaitez enregistrer le scan.
- Appuyez sur + dans le coin supérieur droit.
- Sélectionnez Scanner un document.

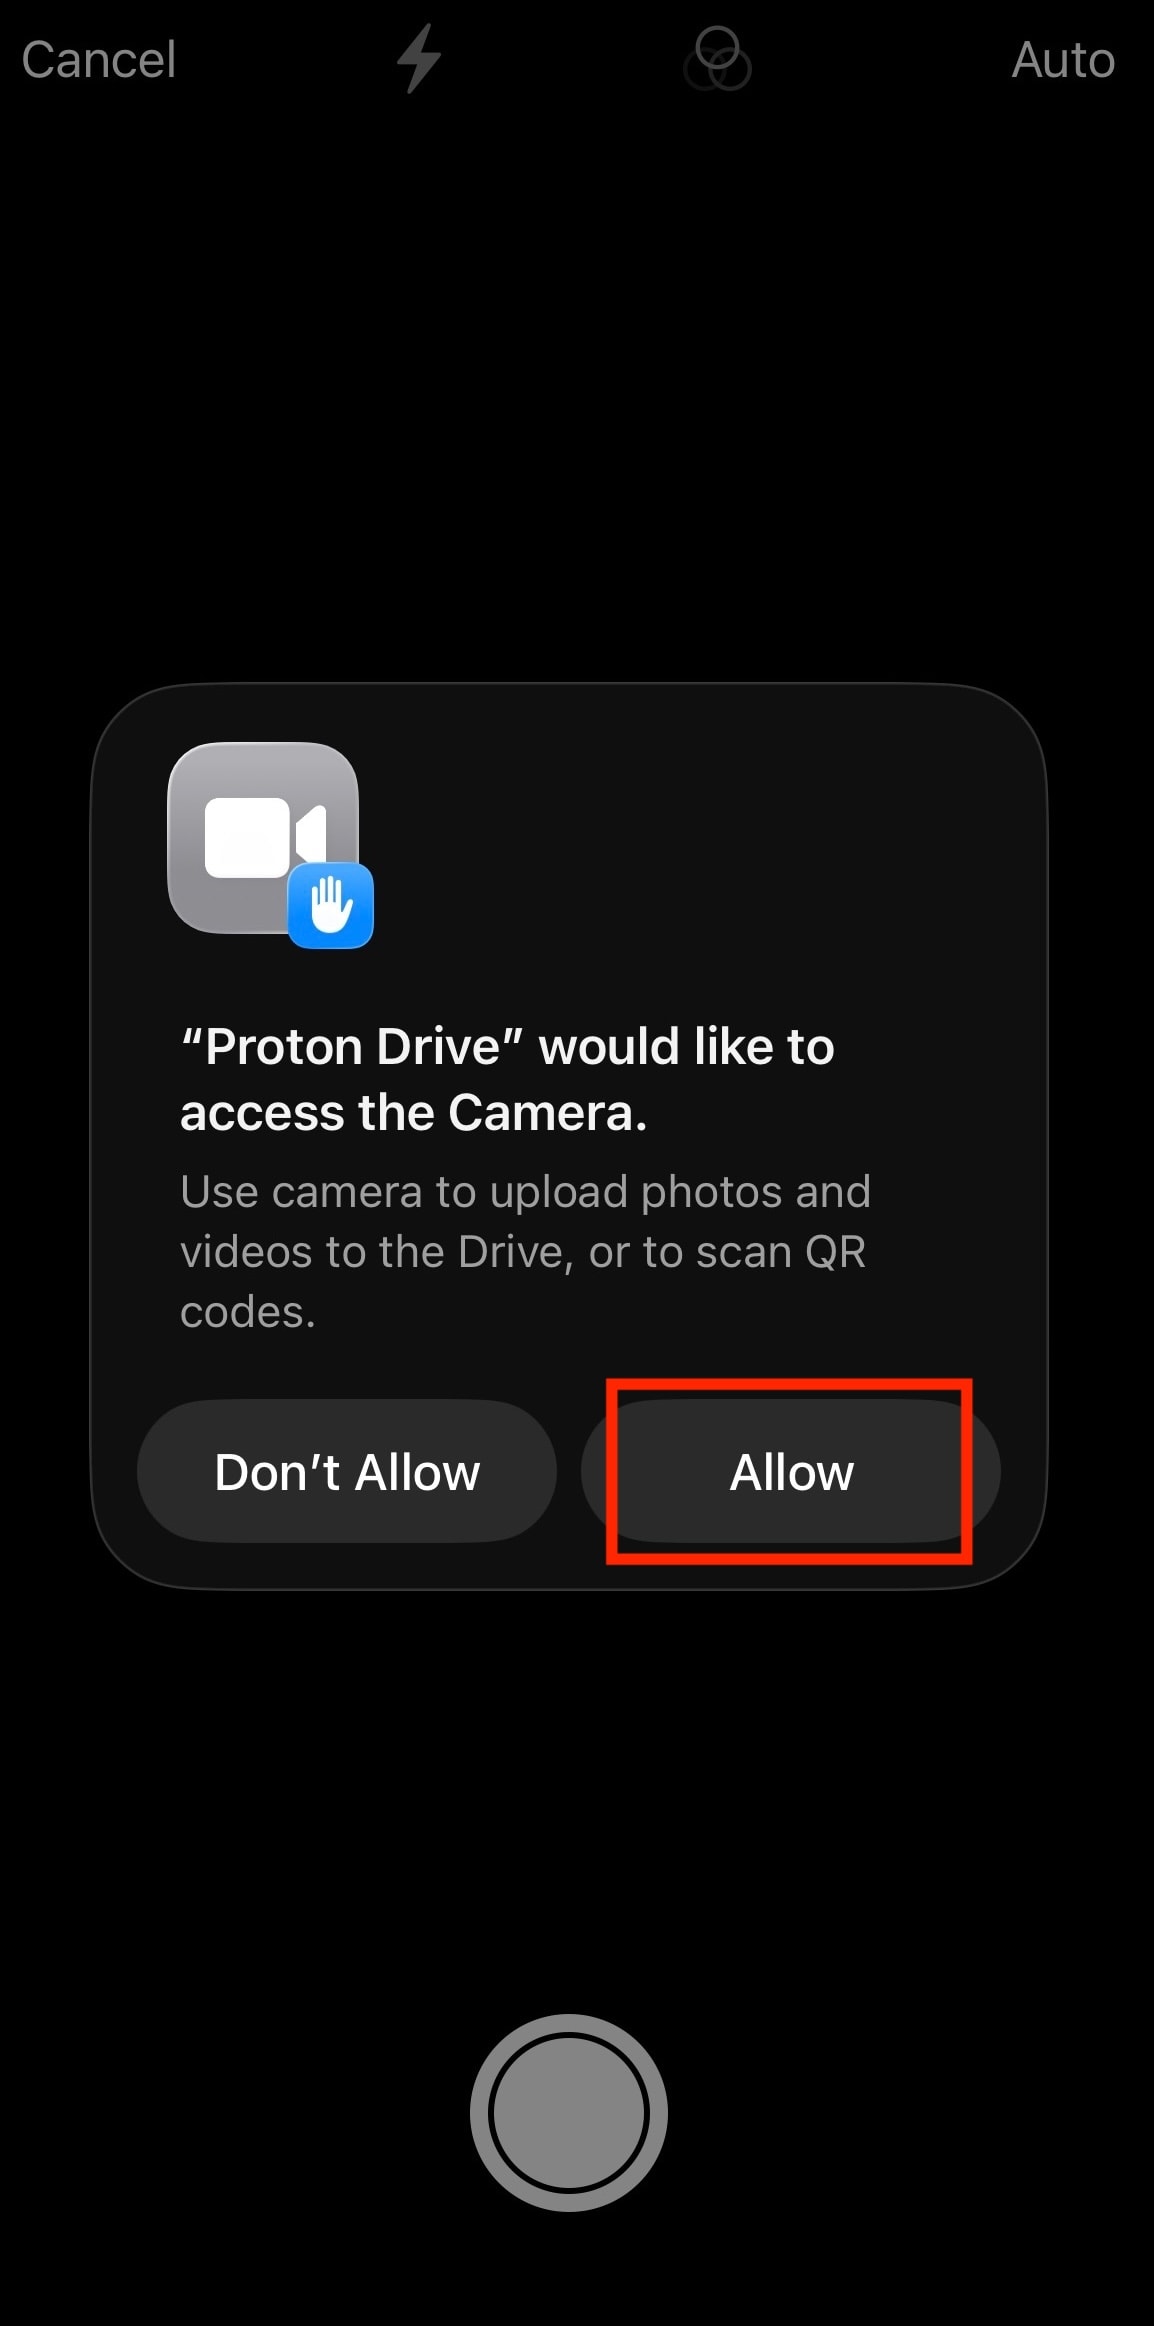
- Autorisez Proton Drive à accéder à l’appareil photo si ce n’est pas déjà fait.
- Prenez une photo de votre document
- Par défaut, Proton Drive détecte automatiquement le document et le prend en photo pour vous, mais vous pouvez passer à la capture manuelle si vous préférez.
- Les captures ne sont pas automatiquement enregistrées dans Proton Drive, ce qui vous permet de photographier plusieurs pages et de décider de ce que vous souhaitez conserver.

Modifier les documents scannés
Faites défiler vos documents scannés et examinez chacun d’entre eux. Pour chacun, vous pouvez :
- Reprendre la photo (utile si vous enregistrez plusieurs documents scannés dans un seul fichier PDF)
- Supprimer les scans que vous ne souhaitez pas conserver
- Appliquer des filtres
- Faire pivoter la page
- Ajuster les bords du document
- Effacer les marques ou les taches (Android)

Une fois que vous avez terminé de modifier les scans, appuyez sur Suivant (Android) ou sur Enregistrer (iOS).
Enregistrer les documents scannés
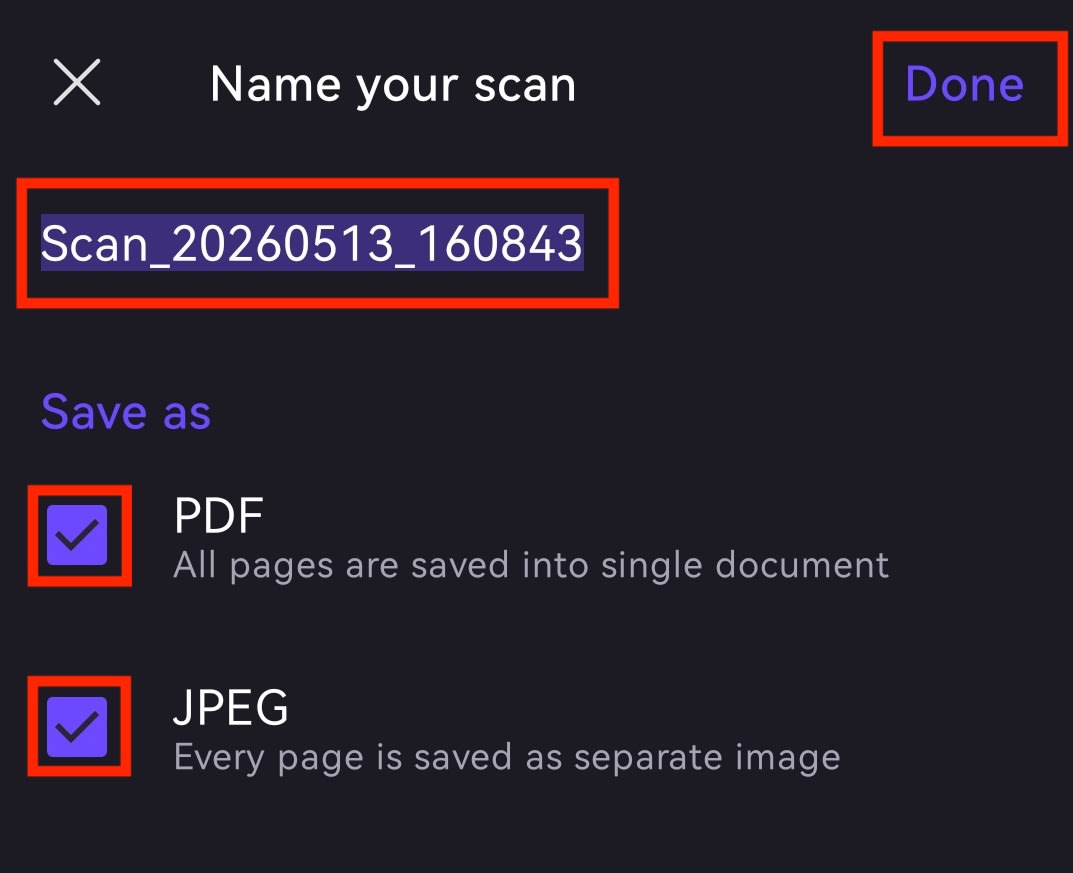
- Ajoutez un nom à votre scan.
- Sur Android, choisissez d’enregistrer les documents scannés sous format :
- PDF (toutes les pages sont combinées en un seul document)
- JPEG (chaque page est enregistrée comme une image distincte)
- À la fois PDF et JPEG
Sur iOS, seul le format PDF est disponible.
- Appuyez sur Enregistrer. Vous recevrez une notification sur votre téléphone une fois l’importation terminée.