How to use contact groups in Proton Mail
Contact groups make it easier to get in touch with large groups of people. Instead of adding email addresses manually in the To field each time you want to email multiple people, you can create a contact group with up to 100 contacts, allowing you to quickly and easily send emails to everyone in that group.
This feature is available for everyone on a Proton Mail paid plan. You can create as many contact groups as you like, and give each one a unique name and an assigned color. Within your groups, you can also include multiple email addresses from the same contact, and each contact can be added to more than one group.
For example, if you organize a meetup with your friends once a month, you can create a contact group called “Meetup Friends” that includes them all, then simultaneously send the monthly invitation to everyone.
This article explains how to create and manage Contact Groups, and how to send emails to your Contact Groups.
How to access contact groups
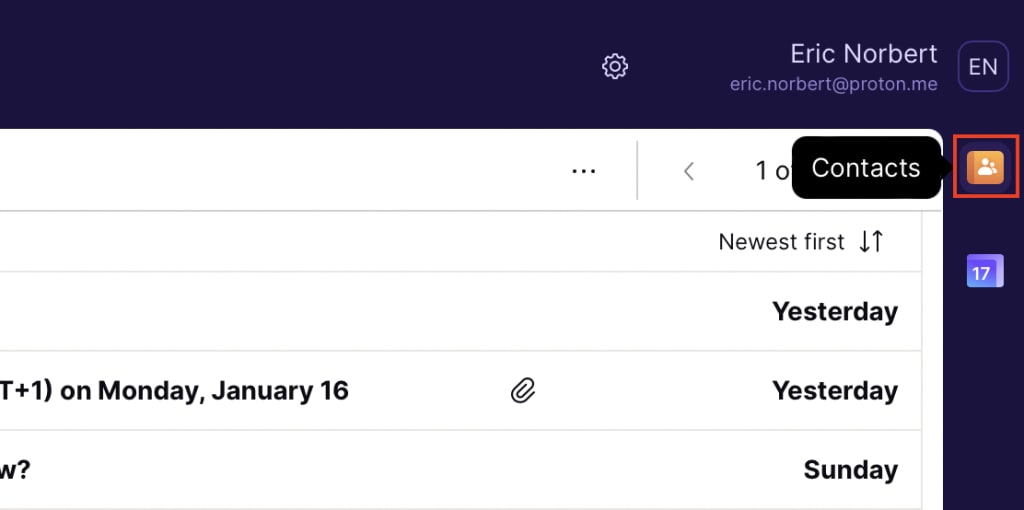
1. Sign in to your Proton Account at account.proton.me/mail and select the Contacts icon from the side panel on the right.

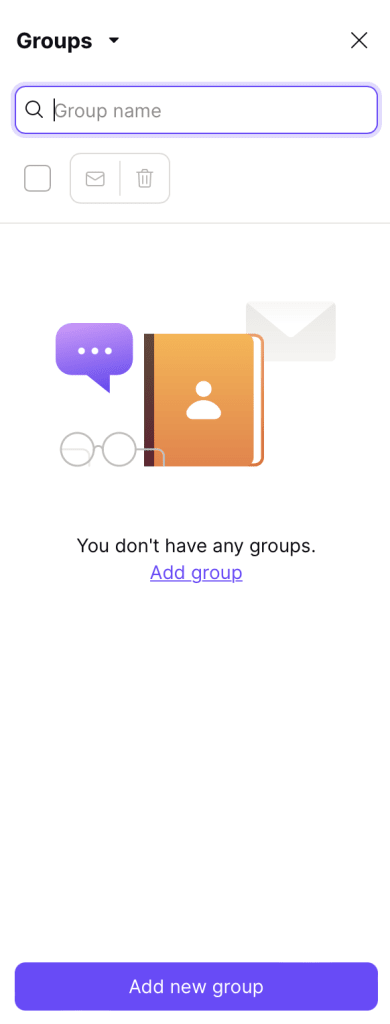
2. Click on the Contacts dropdown menu and select Groups. If you’ve already created contact groups, you’ll find them here.

How to create or delete contact groups
1. Use the Add new group button to create a new contact group. A new window will open, where you can name the new group, assign it a color, and add contacts to the group.

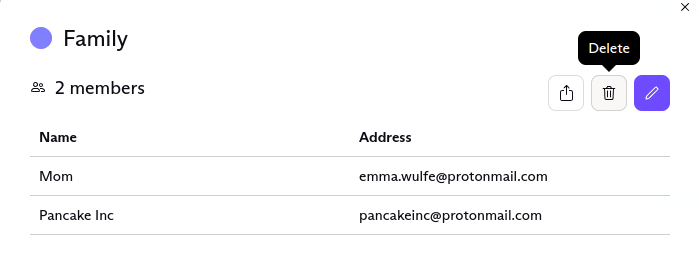
2. To delete a group, click on the group you wish to delete. This will open the group in a new window.
3. Select Delete at the right-hand corner of the window, and click Delete again on the confirmation window to remove the contact group from your account.
Deleting the contact group will not delete the email addresses assigned to it from your contacts.

How to edit contact groups
1. To edit a group, or the contacts within it, click the group to open it in a new window. Select Edit.

2. In the edit window you can change the name and color of the group, as well as add or remove group members.
How to add or remove people from contact groups
To remove a contact from a contact group, click the Remove button next to the contact’s name. The contact will be immediately removed from the contact group.

2. To add a new member to a contact group, type their email address into the Add email address field. If the email address is already in your contacts, it will appear as you start typing. Then click Add, or press Return on your keyboard to add the user to the group.
3. Click Save to save changes.
How to send an email to contact groups
1. To send an email to a contact group, start typing the name of the group in the To field of your composer. The name of the group will show up as a suggestion. To select the suggestion, click on the group or press the Tab or Enter keys.

Please keep in mind that you can send a group email to a maximum of 100 recipients (including To, CC, and BCC recipients) and that sending limits can prevent you from sending emails to excessively large groups.
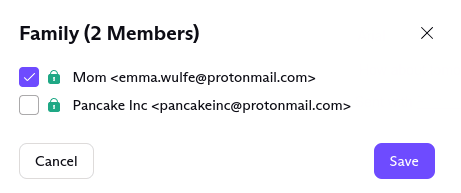
To remove certain contacts in a group from the list of recipients for your email, click on the group name in the To field. In the new window, deselect the contact(s).

The contacts you deselect will not receive the email you’re composing. However, they will continue to be members of that particular contact group.

Note: If you create contact groups as a paid user and subsequently downgrade your account to free, you’ll still be able to see your groups. However, you’ll no longer be able to edit or send messages to your existing groups, or create new ones.
Shared contact groups
Want to centrally manage your contact groups within your business or share your contact groups with some team members? This functionality is currently on our roadmap — reach out to the sales team(neues Fenster) to be notified when it is available.