How to set up the Proton Pass browser extension
- Reading
- 5 mins
- Category
- Using Proton Pass
Proton Pass is a password manager from Proton. As with our other products, we offer a fully-usable free version. If you wish to support Proton and gain access to advanced features, you can upgrade to a Proton Pass Plus, Proton Unlimited, or any Proton for Business plan.
With a Proton Free plan, you get access to the following Proton Pass features:
- Unlimited logins and notes
- Unlimited devices
- 2 vaults
- 10 hide-my-email aliases
With a Proton Pass Plus, Proton Unlimited, or any Proton for Business plan, you get access to the following premium Proton Pass features:
- Unlimited logins and notes
- Unlimited devices
- 50 vaults
- Unlimited email aliases
- Integrated 2FA authenticator
- Priority support
- Proton Sentinel (an AI-driven high-security program)
- Pass Monitor (provides proactive alerts for credentials exposed on the dark web, identifies weak and reused passwords, and checks for missing two-factor authentication).
The stand-alone Proton Pass browser extension is available for Firefox and Chrome.
How to set up Proton Pass for Firefox
How to set up Proton Pass for Chrome
How to set up Proton Pass on Safari
How to access the Proton Pass web app
How to import from other password managers
How to set up Proton Pass for Firefox
Proton Pass for Firefox also works with Firefox-based browsers, such as LibreWolf. To install it:
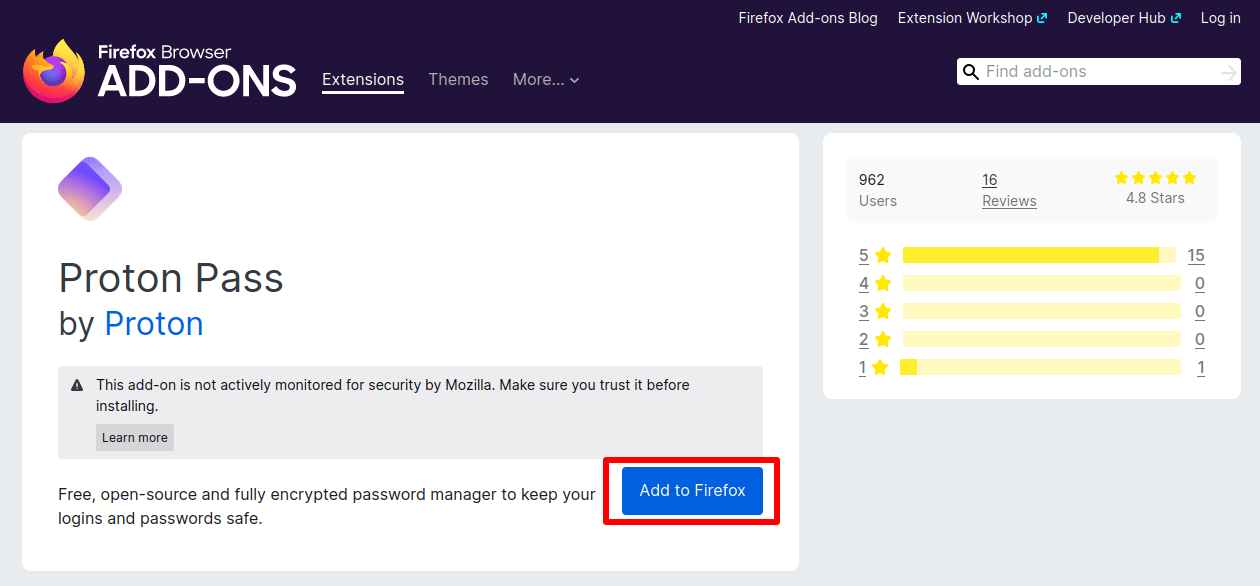
1. Open your browser and click here(new window). You can also search for “Proton Pass” on Firefox Add-ons(new window). Click Add to Firefox.
2. Click Add.

3. Click Okay on the confirmation notice. If you wish to use Proton Pass in Private Windows, be sure to check Allow this extension to run in Private Windows.

4. We strongly recommend you pin Proton Pass to your toolbar to make it easier to use. To do this, open the Extensions menu → Proton Pass → Pin to Toolbar.

5. Your browser window should now show the Proton Pass onboarding page. Click Sign in with Proton and then Allow Pass to access your data for all websites. This allows Pass to add the autofill icon to password fields and to suggest logins for the websites you visit.
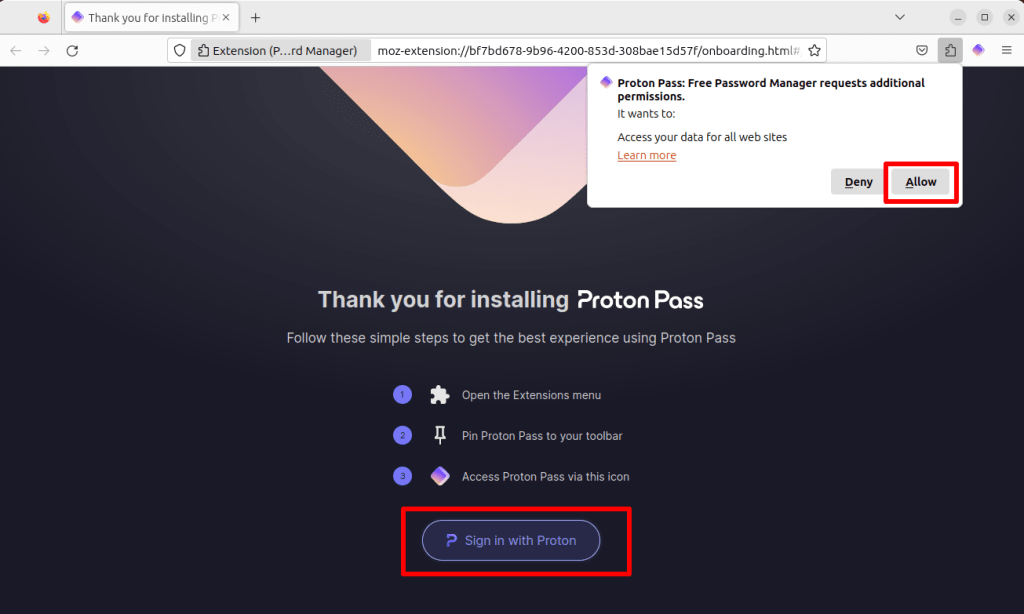
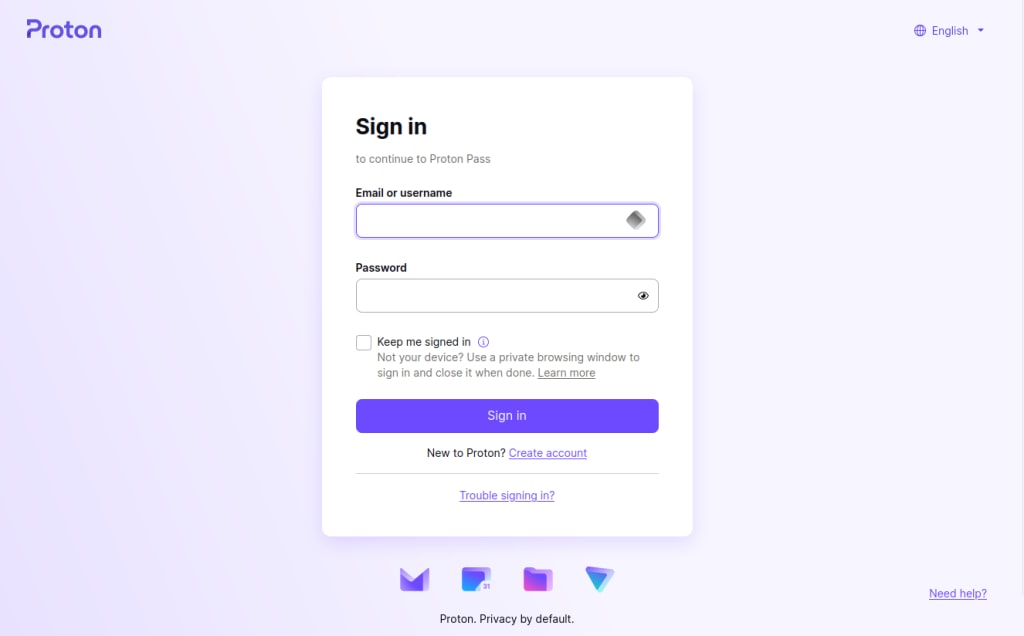
Sign in using your existing Proton Account details. If you’re new to Proton, click Create account to sign up.
How to set up Proton Pass for Chrome
The Chrome browser extension also works on Chromium-based browsers, including Edge, Brave, Chromium, Opera, and Vivaldi.
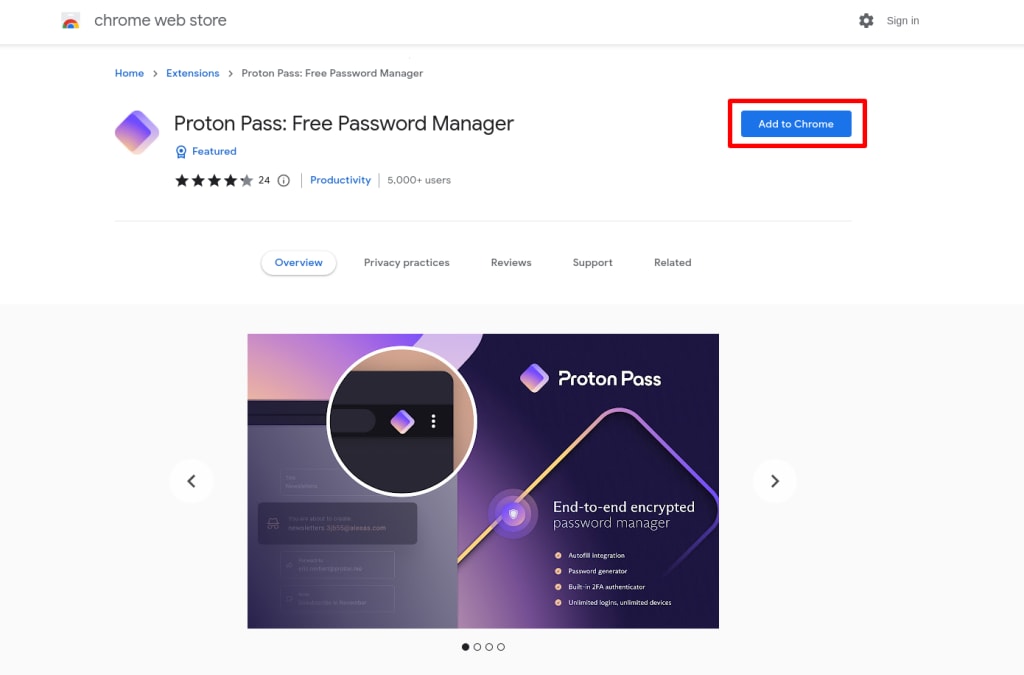
1. Open your Chromium-based browser and click here(new window) (you can also search for “Proton Pass” on the Chrome Web Store(new window)). Note that to run Chrome extensions on Edge, you must click Allow extensions from other stores when you first visit the Chrome Web Store.

2. Click Add to Chrome (or your browser’s name) and follow the prompts.
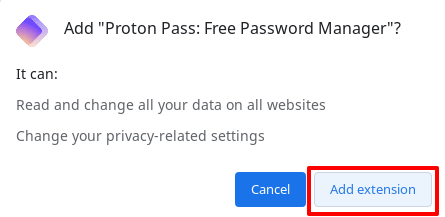
3. Click Add extension at the permissions confirmation notice. This allows Proton Pass to add the autofill icon to password fields and to suggest logins for the websites you visit.
4. (Optional) By default, Chrome extensions don’t work in Incognito(new window) mode. If you want to use the Proton Pass extension in Incognito windows, go to ⋮ → Settings → Extensions → Proton Pass Browser Extension → Details → Allow in Incognito.

Note that the instructions here may vary for different browsers. For example, on Brave, go to ☰ → Extensions → Proton Pass Browser Extension → Details → Allow in Private.
On Edge, go to … → Extensions → Manage Extensions → Proton Pass: Free Password Manager → Details → Allow InPrivate.
5. We strongly recommend you pin Proton Pass to your toolbar to make it easier to use. To do this, open the Extensions menu and click the Pin icon next to Proton Pass.

The Proton Pass browser extension icon will now appear directly on your browser’s toolbar.
6. Your browser window should now show the Proton Pass onboarding page.
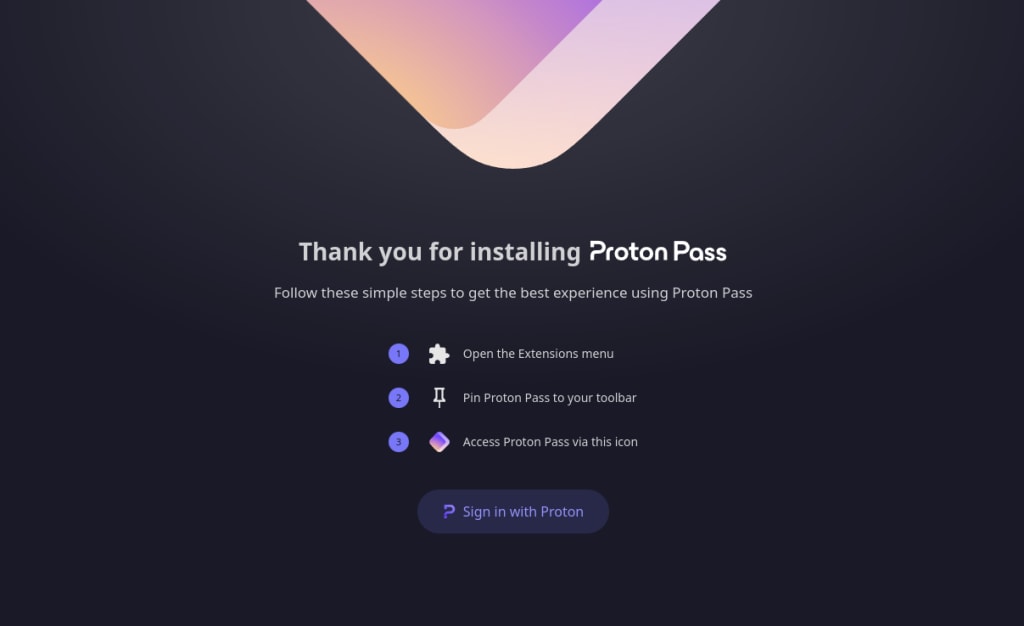
Sign in using your existing Proton Account details. If you’re new to Proton, click Create account to sign up.
How to set up Proton Pass for Safari
To install Proton Pass on Safari for macOS:
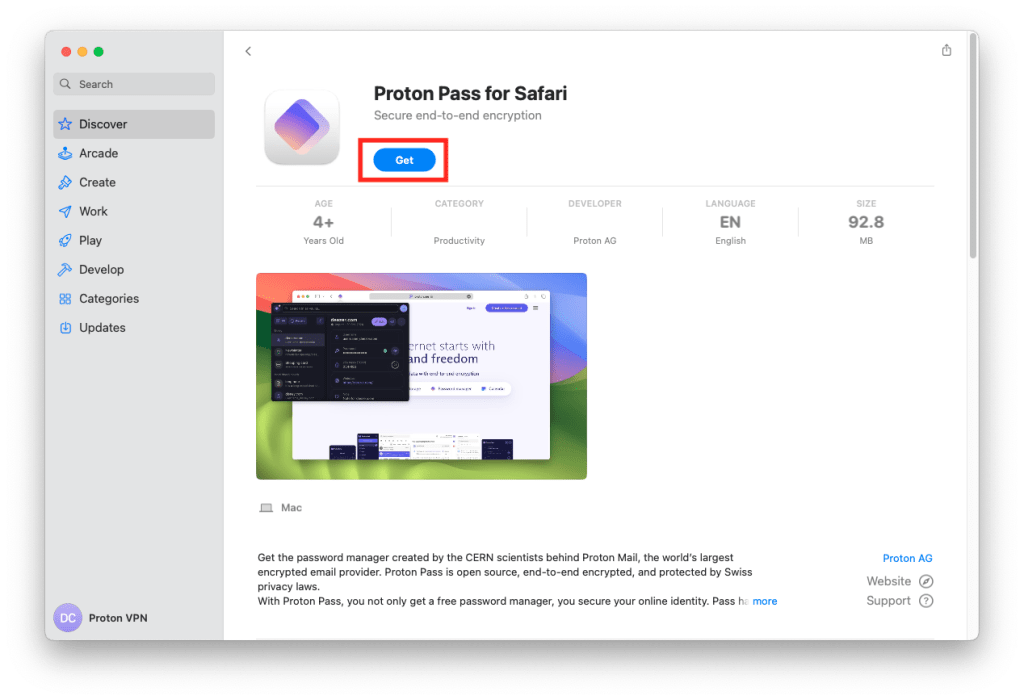
1. Click the link below to open the Proton Pass download page in the App Store. You can also search for “Proton Pass for Safari” on the App Store.
2. Click Get → Install.
3. Open Safari and go to the macOS menu bar → Safari → Settings… → Extensions → Permissions → Web Page Contents and Browsing History. Ensure Proton Pass is selected and click Always Allow on Every Website (you’ll also need to click the confirmation dialog).
If you don’t do this, you’ll be prompted for permission to use Proton Pass on every website that you save or autofill a login on. Close Settings when you’re done.

4. Back on the main Safari browser window, you’ll see a Proton Pass extension icon next to the URL bar. Click on it to sign in to your Proton Pass account.

If you didn’t grant Proton Pass permissions earlier (see step 3), when you first use Proton Proton Pass to save or autofill a login, you’ll see the following security message.
We strongly recommend selecting Always Allow on Every Website (If you don’t do this, you’ll be prompted for permission to use Proton Pass on every website that you save or autofill a login on).

How to access the Proton Pass web app
You can also use Proton Pass via our web app, which doesn’t require any installation. It works on any major browser and is a great way to organize your entries.
To access the web app, you can:
- Go to https://pass.proton.me/(new window).
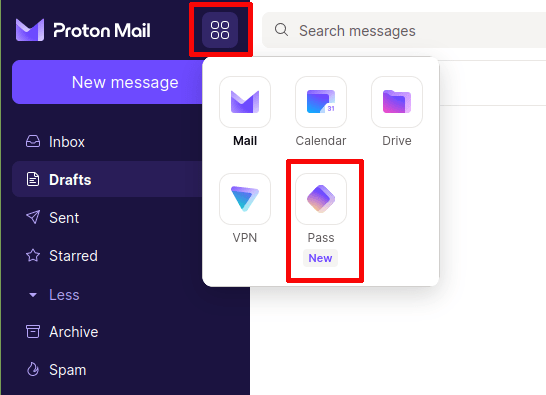
- Click the app switcher button (the four squares in the top left) on the homepage of all other Proton web apps (for example, the Proton Mail inbox). Then click Proton Pass, and you’ll be taken directly to its web app.
How to import from other password managers
If you’ve used a password manager before, you’ll probably want to import your saved passwords to Proton Pass.
Proton Pass makes it easy to migrate from other popular password managers, with built-in support for importing passwords and other data from many popular password managers and browsers.