How to use administrator tools in Proton Pass for Business
- Reading
- 3 mins
- Category
- Proton Pass for Business
Proton Pass for Business lets you protect your organization’s usernames, passwords, bank cards, and other data with a single app, and control access among multiple users. To upgrade to Proton Pass for Business, follow this link. This guide shows you how to navigate the admin settings.
- How to enable multi-user support
- How to add new users
- How to edit users
- Change passwords and delete users
- Enabling and enforcing 2FA
How to enable multi-user support
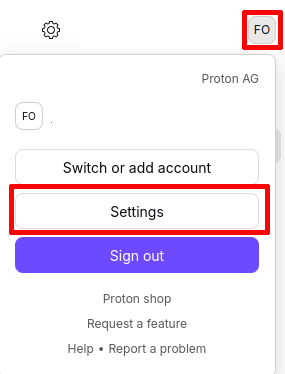
To access all the features of Proton Pass for Business, you first need to enable support for multiple users. To do so, go to pass.proton.me and sign in to your account. Once in, go to the top right of your screen and click on your profile picture and click Settings.
Once in the settings menu, click on the tab for multi-user support on the left, under Organizations. There, click on Enable multi-user support.

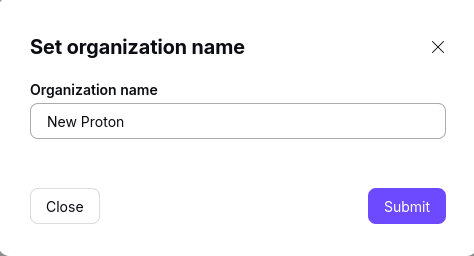
You need to authenticate with your password and set a name for your new organization.
You will be the primary admin for the account, able to add and remove users, and set permissions for them.
How to add new users
After enabling multi-user support, you’ll be able to add new users.
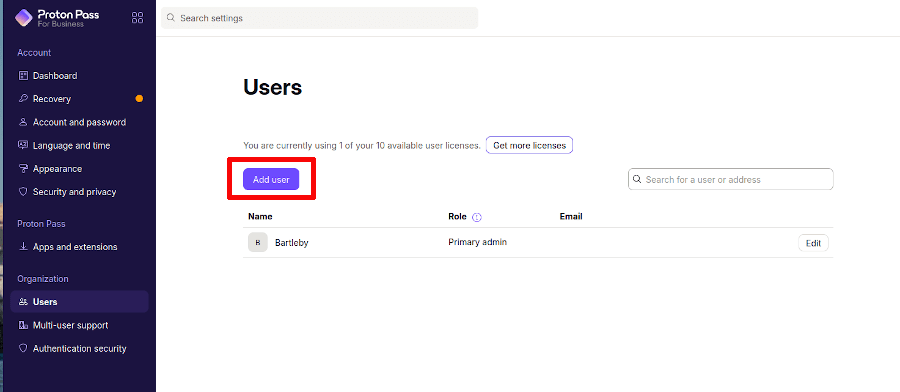
Click on the Users tab under Organizations on the left in your Pass account settings. You’ll see an overview of all the users on your account. To add a new user, click on Add user.
In the new screen, input the name and invitation email address for the new user. If you want to add a member to your organization without sending an invitation email, click “Create password instead” and fill out the password fields. Make sure to copy their password and share it with them through a secure channel of communication.
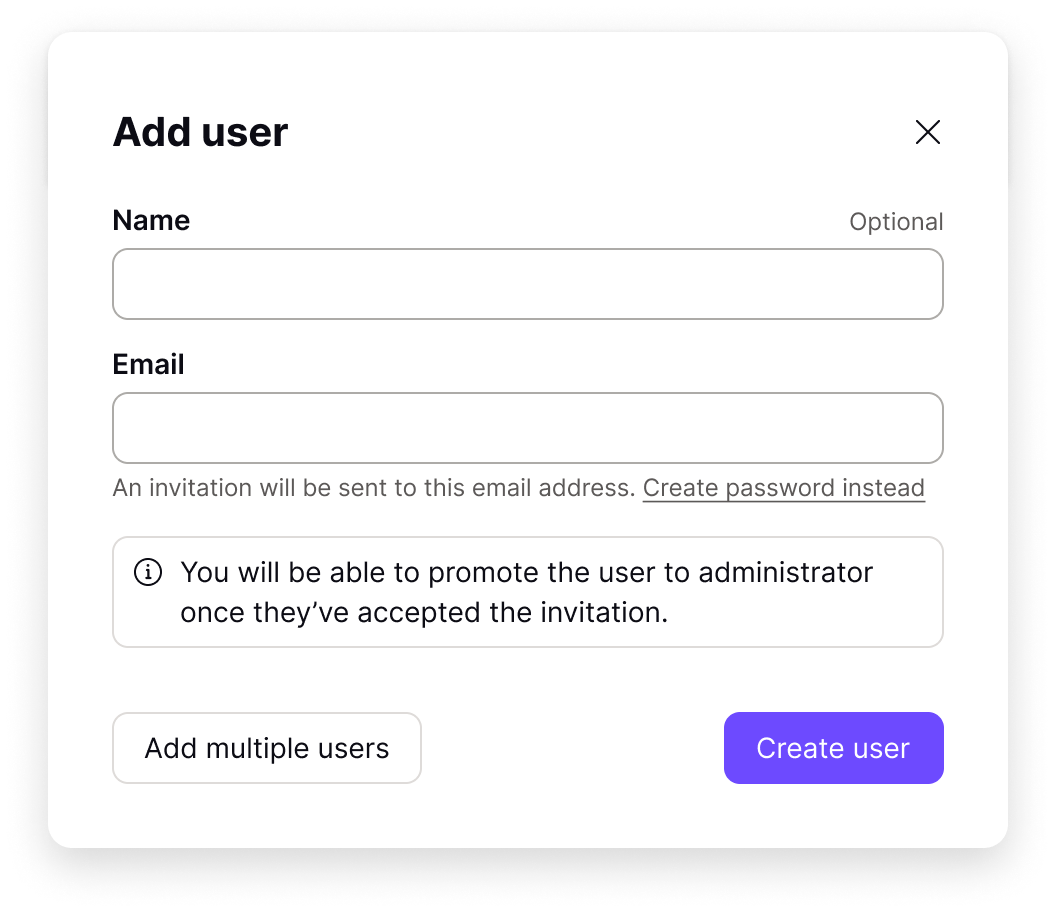
Note: The password fields will only become visible after an admin clicks “Create password instead.”
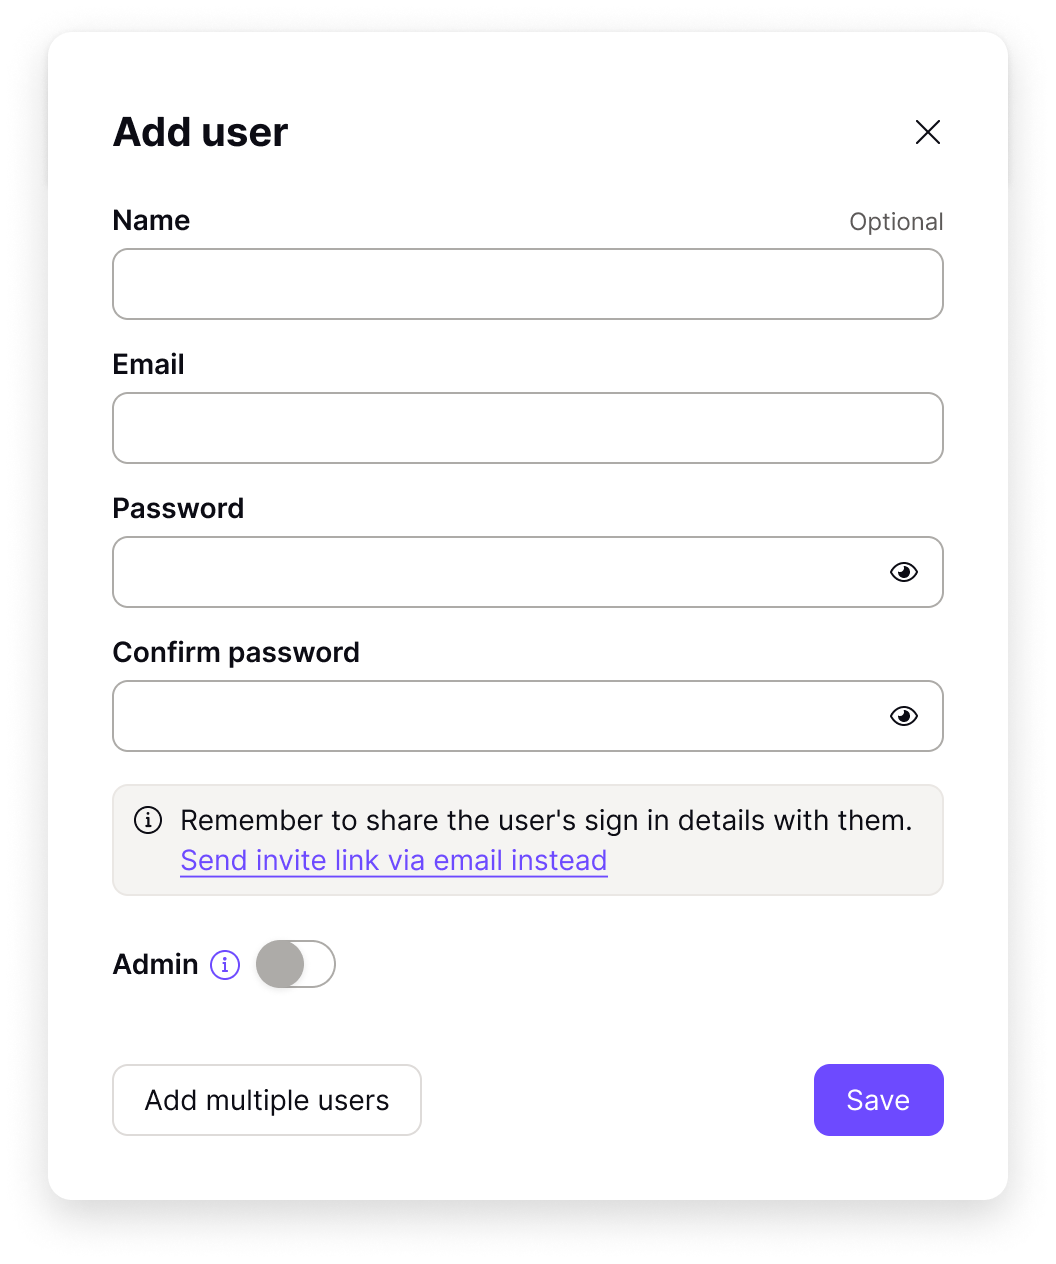
Admin privileges are turned off by default. To give the new user admin privileges (the ability to add and remove users and change their permissions), simply click on the toggle. Please note, however, that this is only possible if the admin decides to create a new password for the new user. If the admin invites a new user with an email invitation, that user can be given admin privileges later – only after they accept the invite and create their account.
The admin can switch back to “email invitation mode” by clicking the link “Send invite link via email instead”.
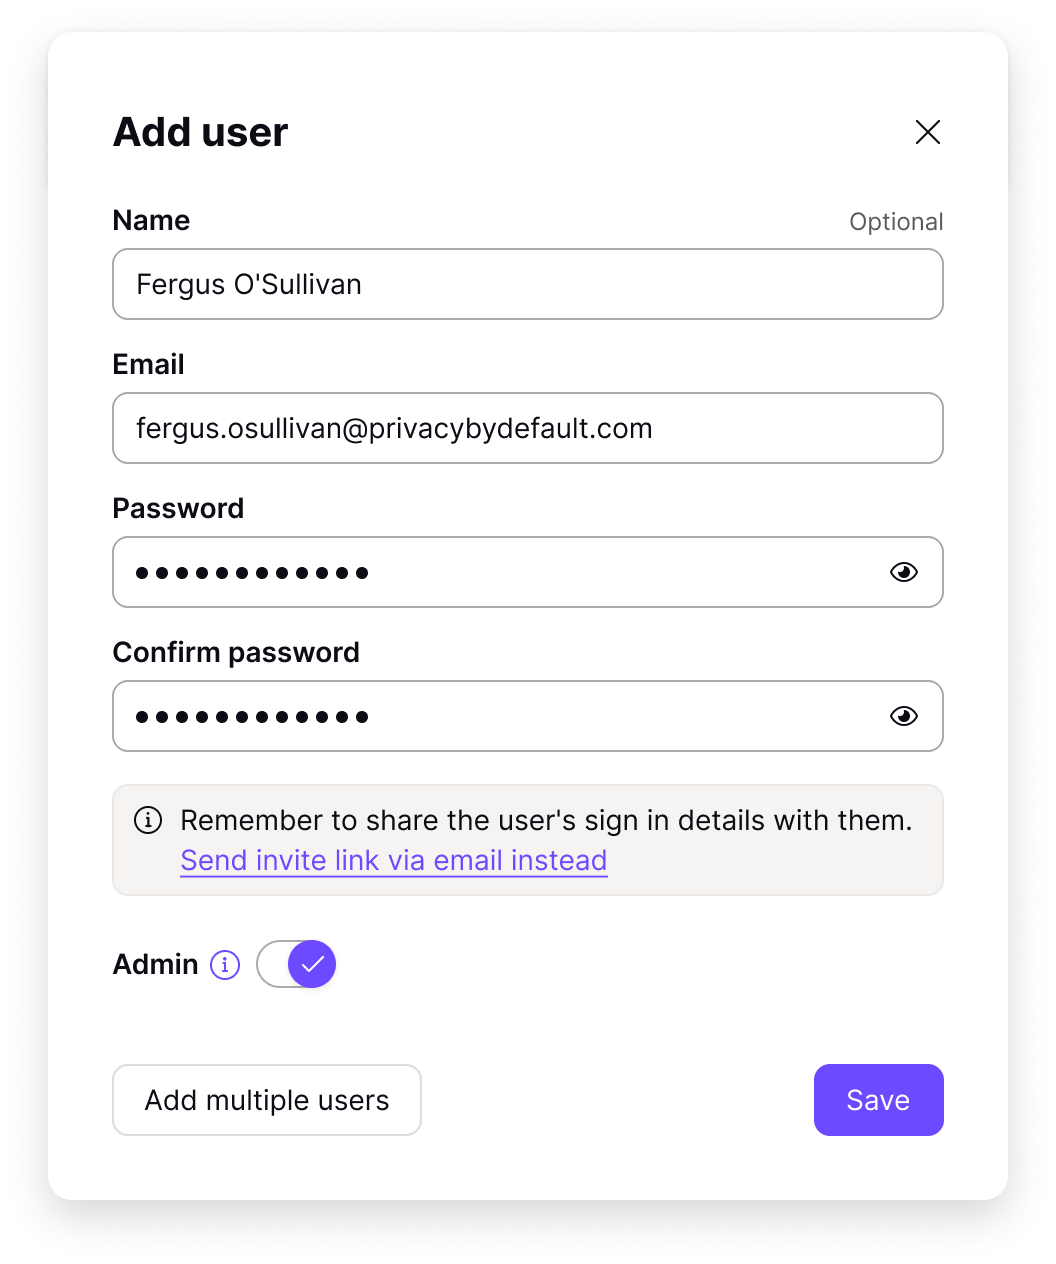
Once you’re done, either click on Create user or on Add multiple users if you want to add more people to your organization.
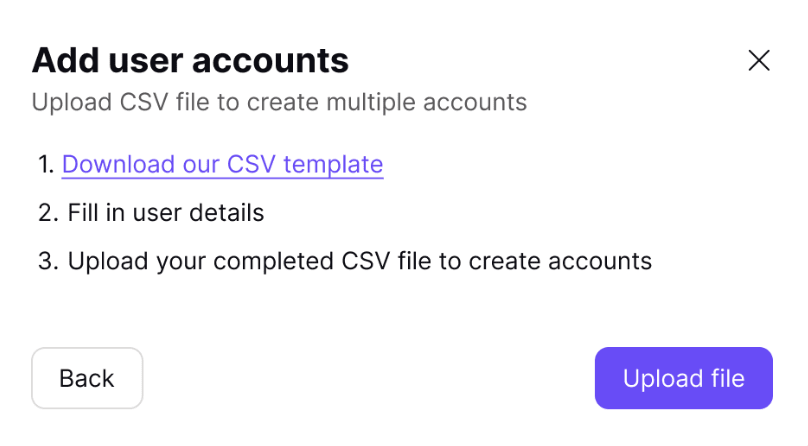
Adding multiple users at once
Instead of going one by one, you can also add users in batches using a CSV file. We have prepared a template you can use, which you can download here(new window) (right-click → Save link as…) or via the menu in the web app.
How to edit users
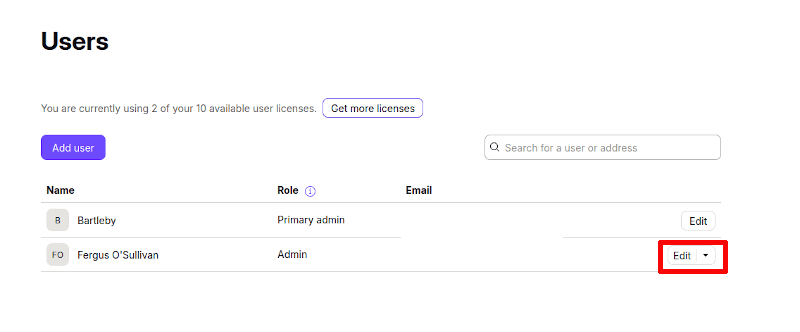
To edit a user’s name and admin status, click on the Edit button to the right of their name.
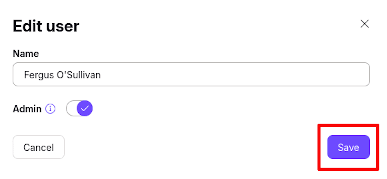
In the new screen, change the details you want and click on Save.
Change passwords and delete users
You can access other functions by clicking the downward arrow to the right of the Edit button.
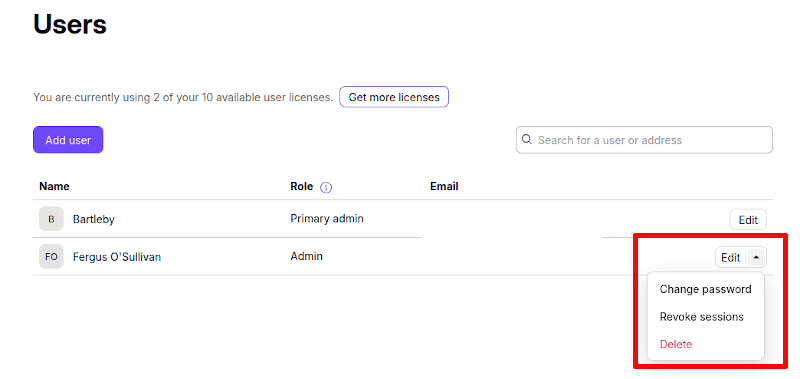
- Change password lets you change a user’s password.
- Revoke sessions logs the user out of all sessions.
- Delete removes the user from your organization completely.
Enabling and enforcing 2FA
To enable two-factor authentication (2FA) for you and your team, go to Authentication under the Organization tab on the left in your Pass account settings.
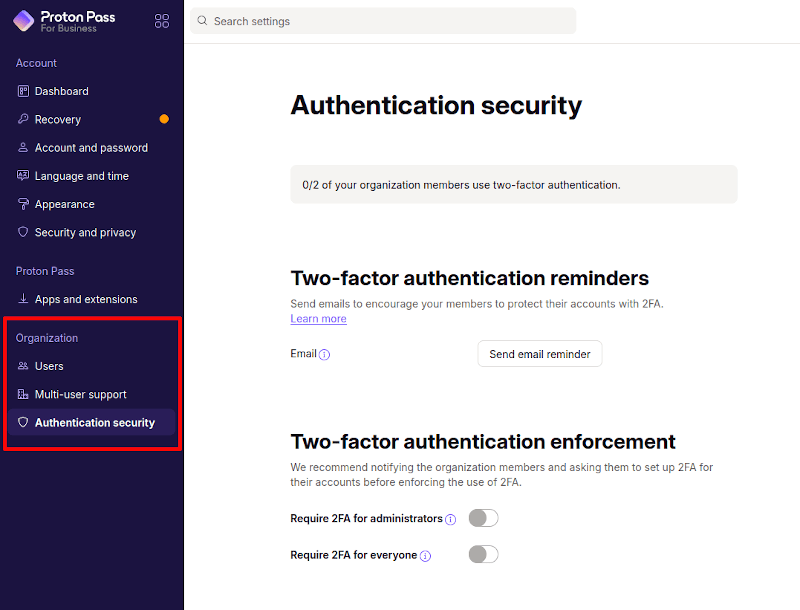
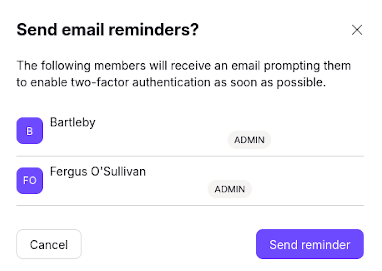
You can make it mandatory for admins or the entire organization to use 2FA by using the appropriate toggle at the bottom of the screen. Alternatively, you can opt to remind your team members to enable 2FA by sending an automated email.