Creating and editing a document in Proton Docs
- Reading
- 3 mins
- Category
- Using Proton Drive
Proton Docs is a collaborative document editor built into Proton Drive, which protects your privacy with end-to-end encryption. This article covers the basics of creating and editing documents using Proton Docs.
Creating and naming a document
On the web
To create a document, log in to Proton Drive and click on New → New document.

This will open a blank document for you. To change the name of the document, click the default name in the top-left corner and select Rename document.

Note: Currently, the maximum document size you can create or edit in Proton Drive is 25 MB.
On Android and iOS
To create a document:
- Open Proton Drive on Android(new window) or iOS(new window).
- Go to Files.
- Tap + in the top-right corner.
- Select Create document. Proton Docs will create a new empty document in the current folder.

To rename a document:
- Tap the horizontal ellipsis … (on iOS) or the vertical ellipsis ⋮ (on Android) next to the document’s name.
- Select Rename.

- Enter the new document name and confirm it.
Editing your document
Docs in Proton Drive lets you add a variety of rich text and images while keeping all your content private and secure.
The features below are all easily accessible from the toolbar.
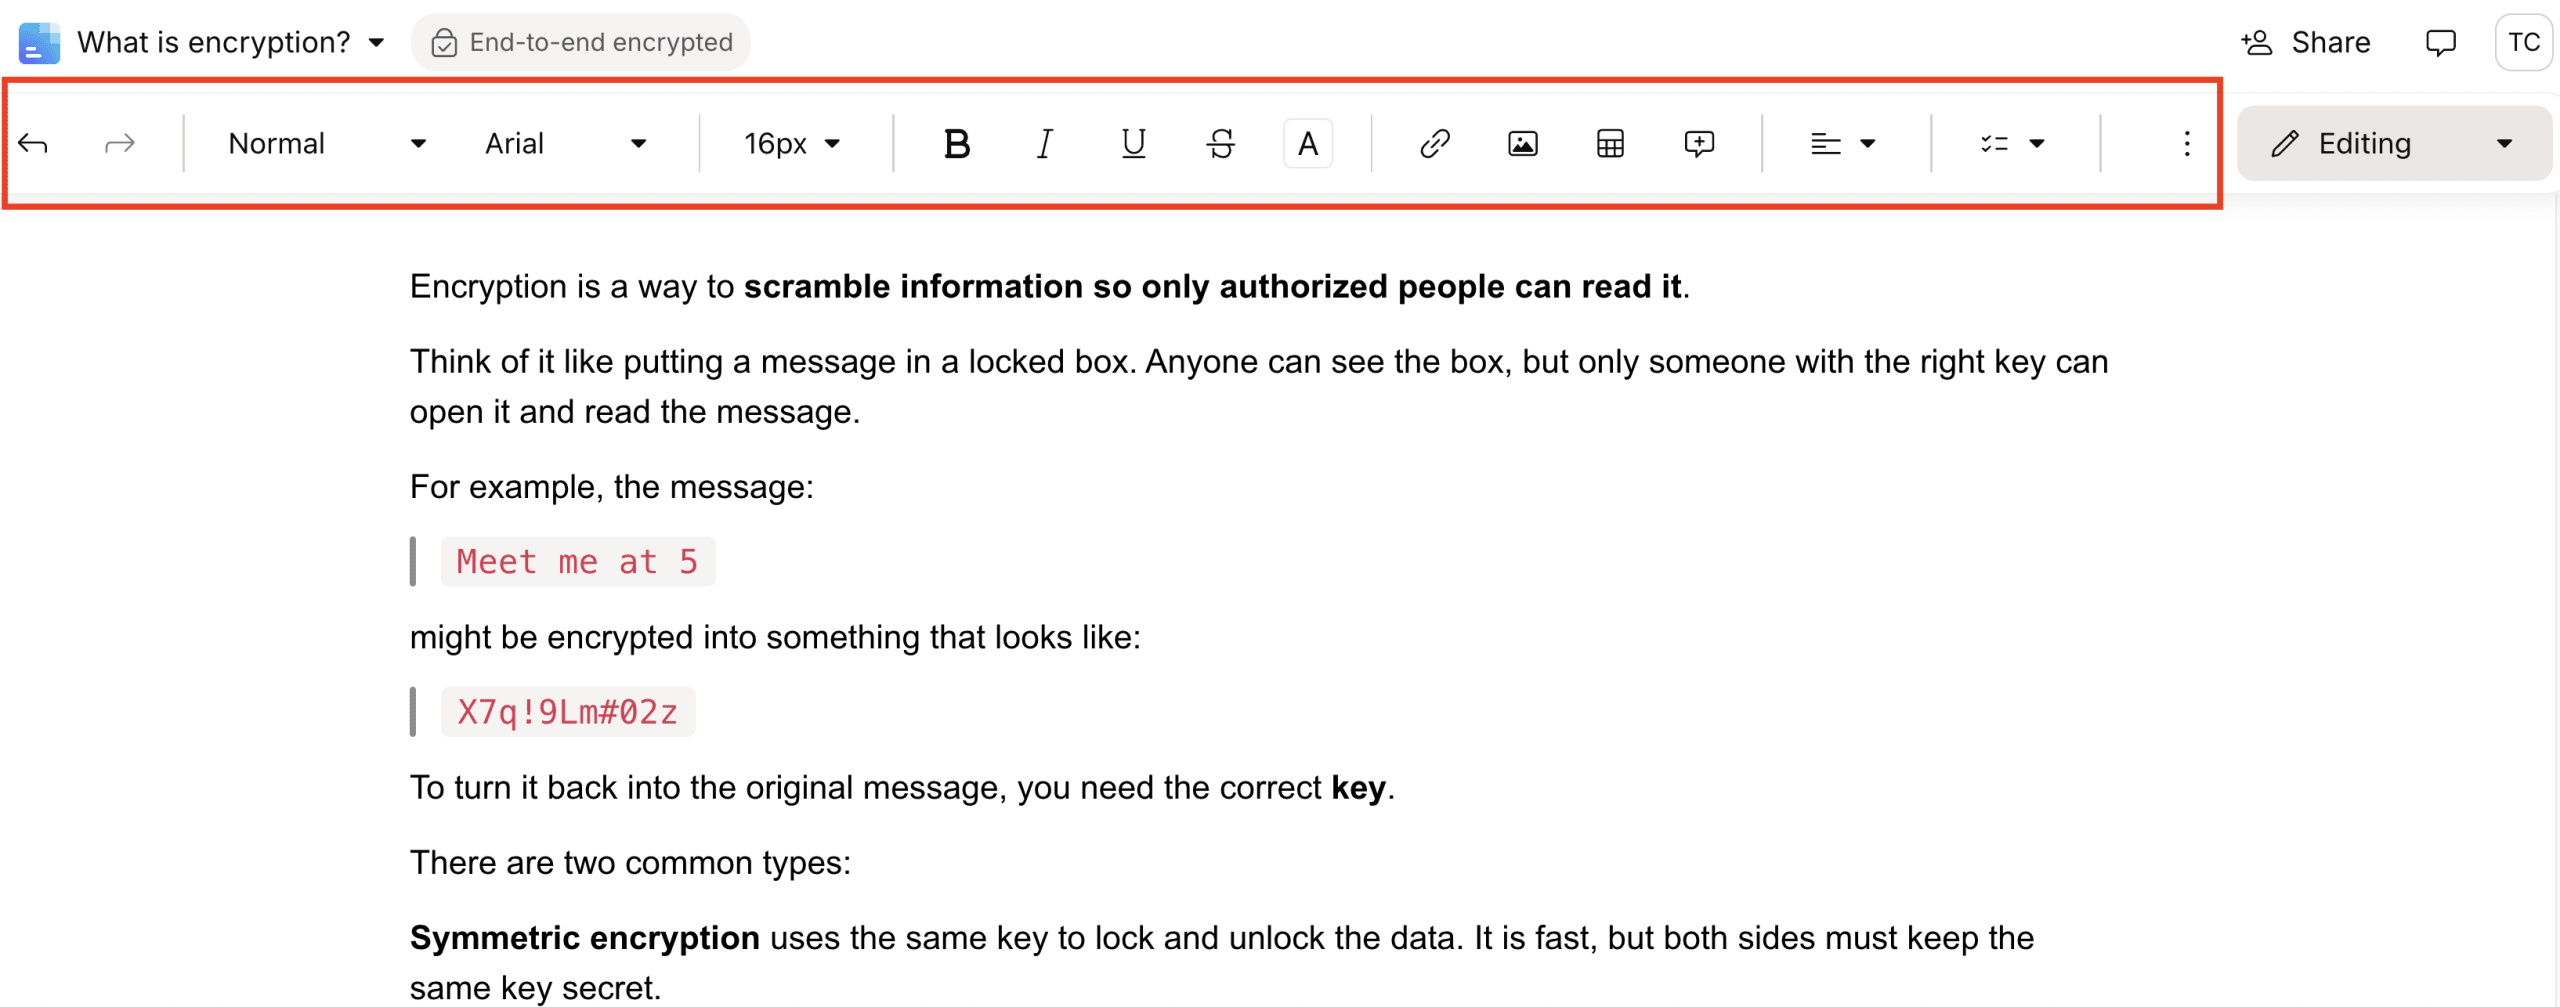
Text formatting features
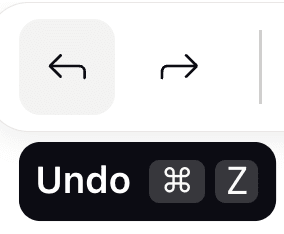
Undo/Redo: Quickly reverse or repeat your last actions to streamline editing.
Styles: Choose from various text styles to format your document, making it easy to apply consistent headers, paragraphs, and other text elements.

Font and size: Customize the appearance of your text by selecting different fonts and adjusting the font size.
Text formatting: Apply bold, italic, and underline to emphasize key points in your document.
Text color and highlight: Change text color or highlight text to draw attention to important sections.
Code block: Insert code snippets and blocks, preserving their formatting for technical documentation.

Align text: Align your text to the left, center, or right for a structured and professional look.
Lists: Create ordered (numbered), unordered (bulleted), or check lists to organize your content clearly.

Code block: Insert code snippets and blocks, preserving their formatting for technical documentation.
Quote: Insert quotes to highlight important statements or excerpts, making them stand out in your document.
Divider: Insert a horizontal line or separator to visually divide sections of your document and improve readability.
Indentation and clear formatting: Increase or decrease text indentation and clear formatting to structure your paragraphs and lists effectively.
Adding comments
To add a comment, highlight the text you want to comment on and click the Comment option in the toolbar or the floating menu that appears.
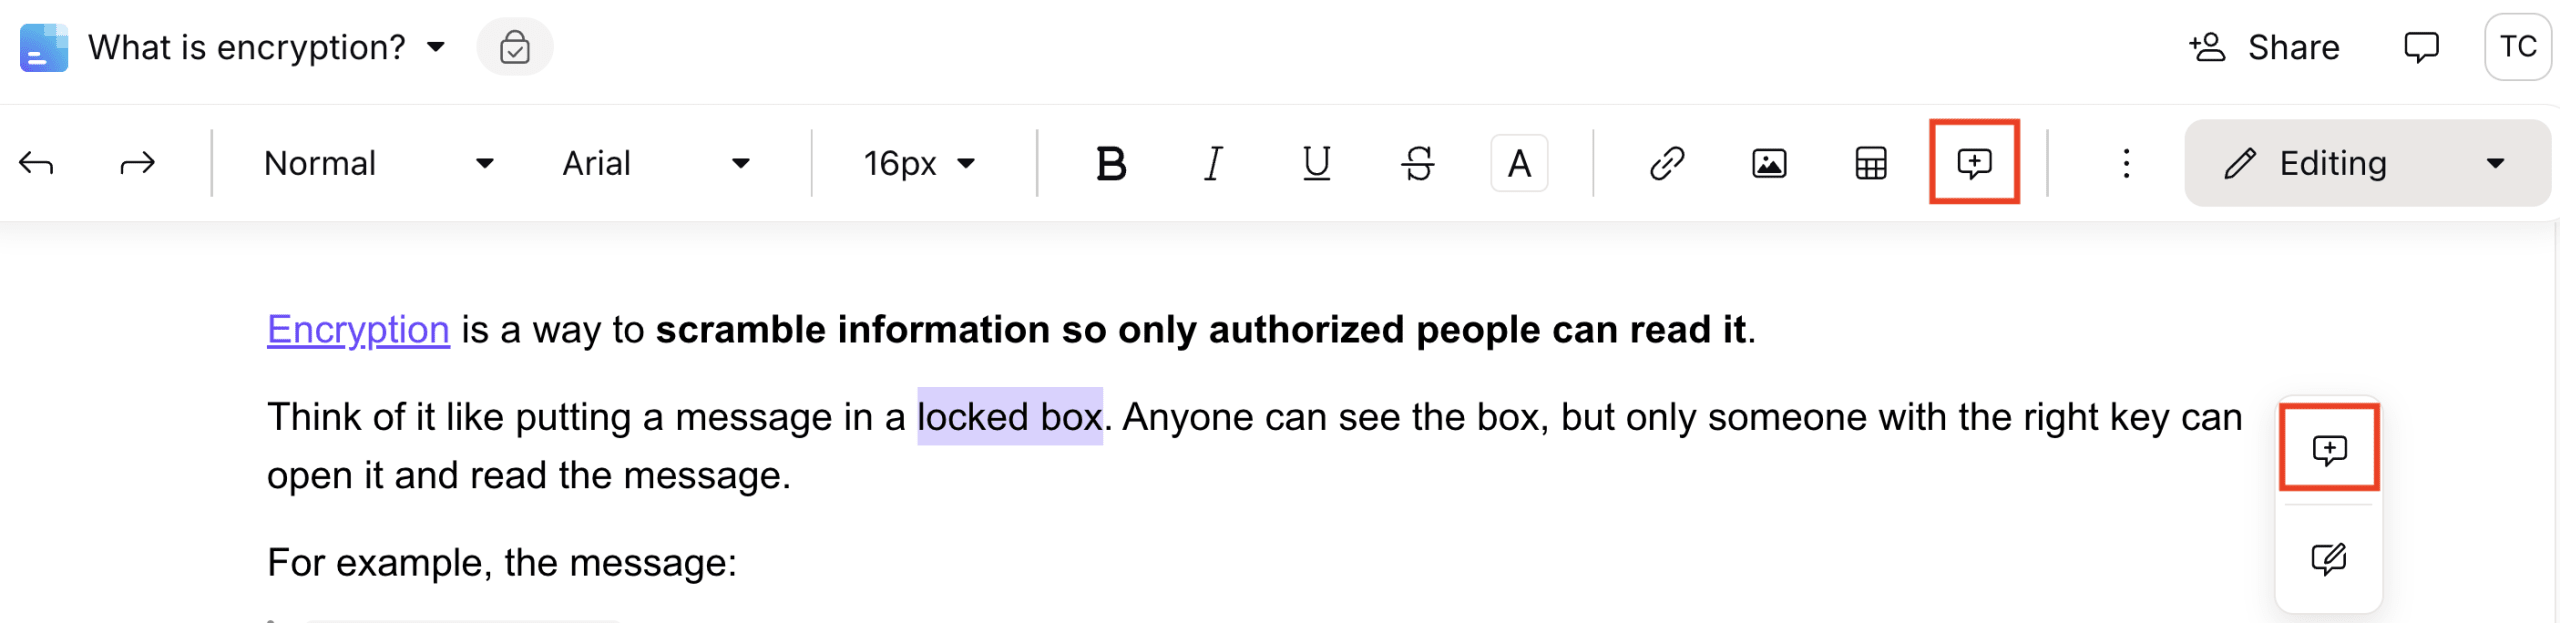
Type your comment and post it.
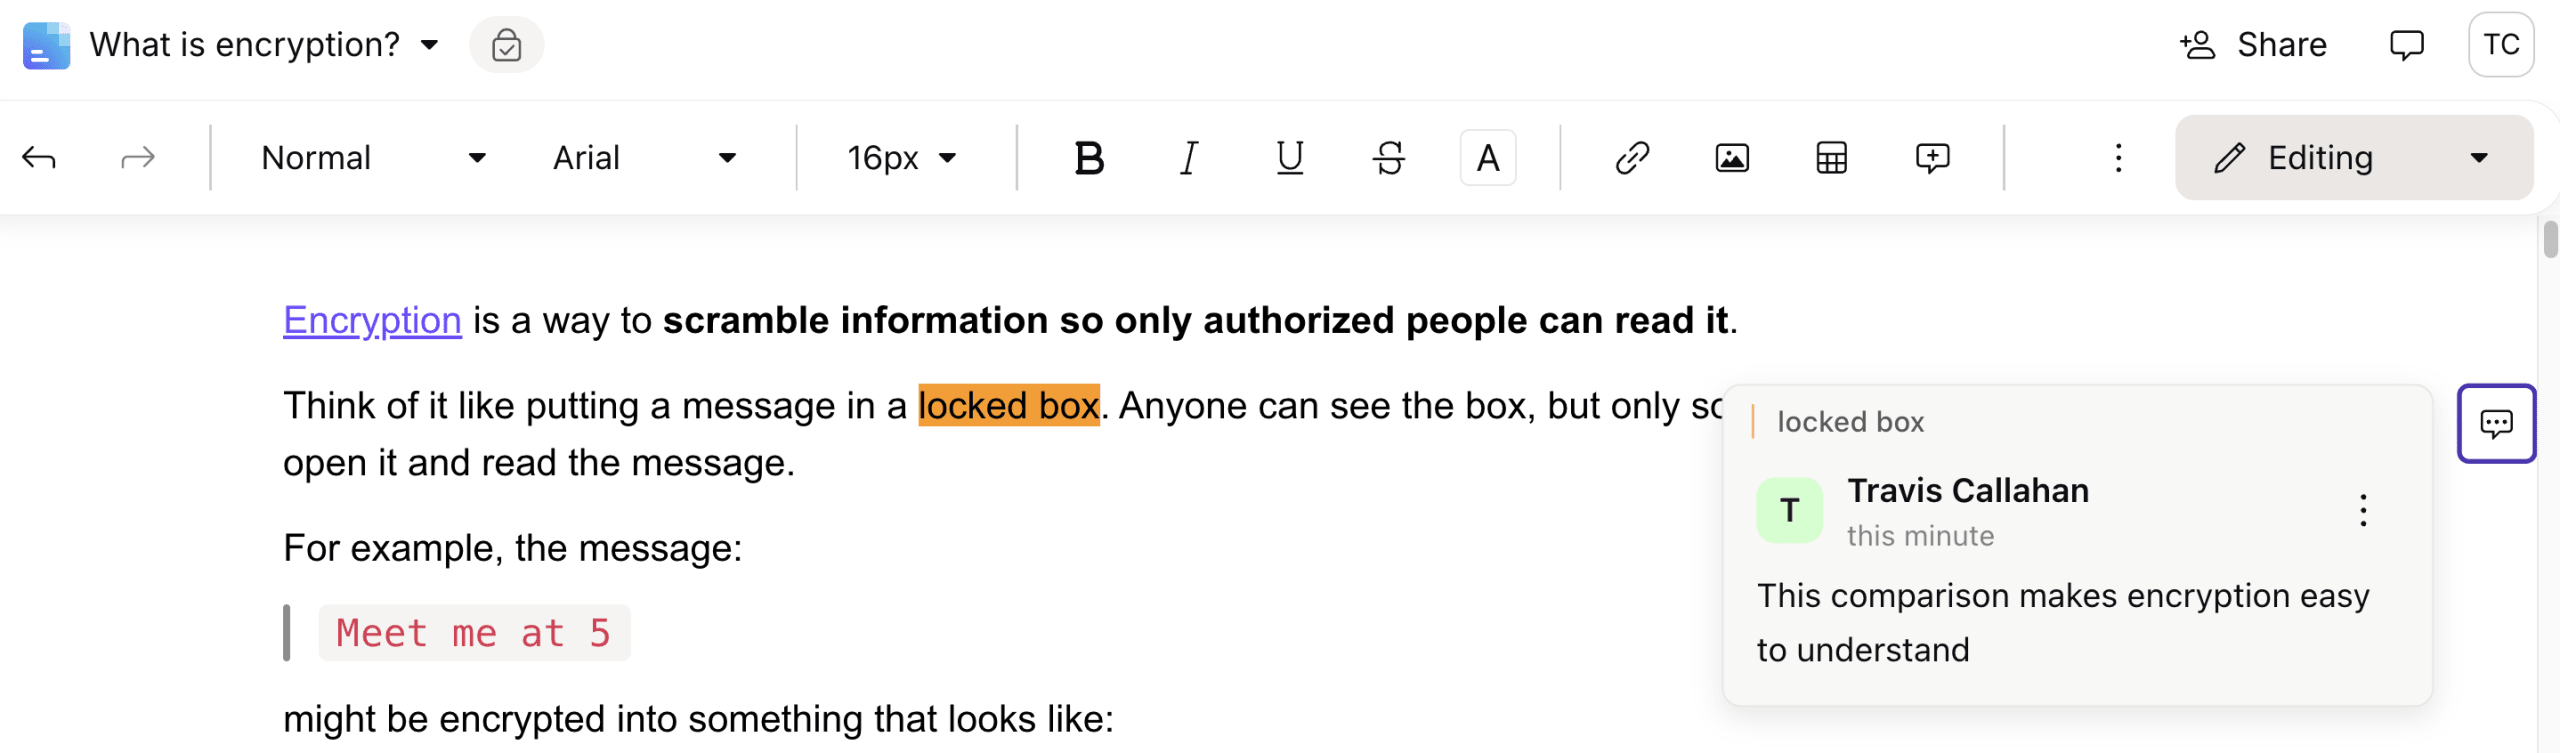
You can use comments in Docs to leave notes for yourself or to collaborate with others while keeping your document private and secure. For example, you can ask questions, suggest edits, provide feedback, or discuss specific parts of the document without changing the main content.
Inserting and managing tables
You can create and customize tables to organize data and information efficiently in Docs.
First, insert a table into your document by moving the cursor where you want the table and clicking Insert table in the toolbar.

By default, the header row is highlighted. However, you can also highlight or unhighlight the header row or column by clicking on any cell and clicking on the Options dropdown.

Additional options include the ability to duplicate and delete the table in one click.

Adding rows and columns, and other functionalities
It is also easy to add more rows and columns and format the content of the table.

To add more rows or columns, hover over the last row or column in the table till a + sign appears. Clicking on this will add another row or column to the table.
You can also make additions in between existing rows or columns, duplicate them, clear contents, and delete rows or columns by hovering over any cell and clicking on the Grid icon.
Clicking on this offers you additional options:

Additionally, you can add color to the text and the background of the table.
