How to use groups in Proton Pass
- Reading
- 2 mins
- Categories
- Proton Pass
- Proton Pass for Business
- Using Proton Pass
If you’re an admin for an organization with a Proton Pass Professional account, you can create groups for teams or projects within your organization. This helps when you need to grant access to vaults or items to multiple people at a time, because you can grant access to a group. Anyone added to the group will then inherit the same access permissions.
Create a group
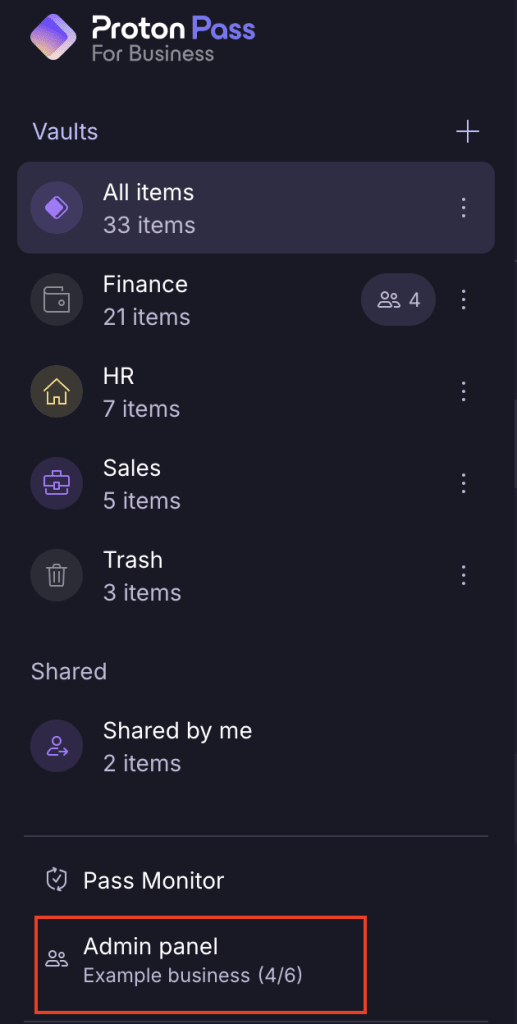
- Sign in to your account and open the Admin panel.

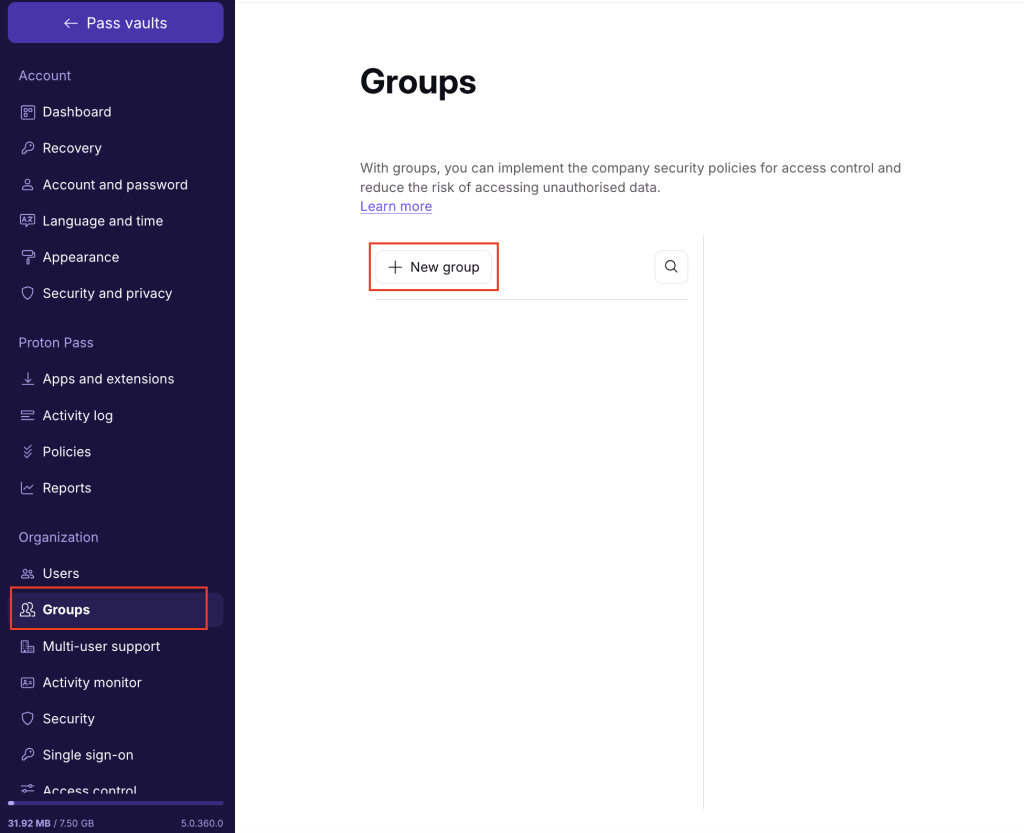
2. Select Groups from the sidebar, then click +New Group.
- Give your group a Name and Purpose (optional), then → click Save to create the group.

Your group is created.
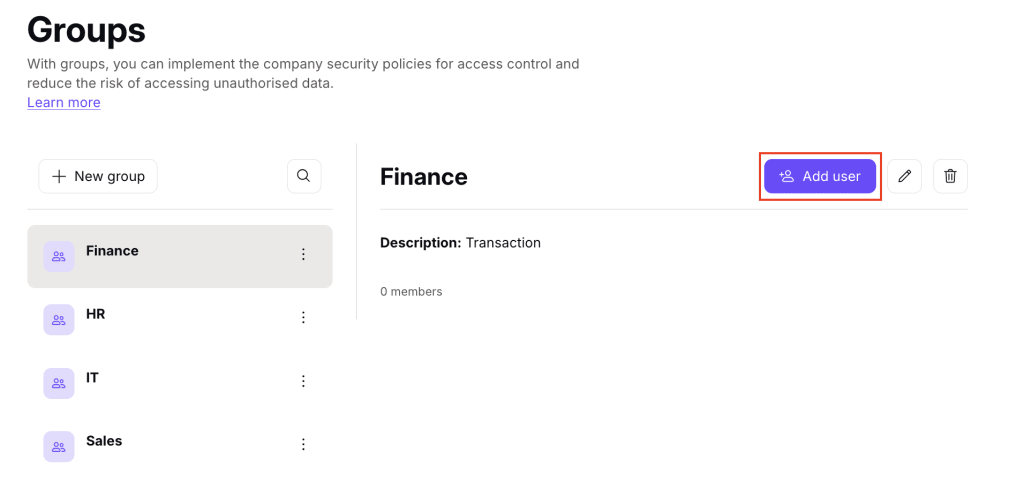
- Click Add user. You can add individual members to your group by entering their names or email address, or use Add all organization members to invite everyone in your organization. Select Add to send group invites.

- Add group owners (optional). Group owners can add and remove group members, edit or delete the group, and accept vault and item invites for the group.
- To add an owner, find the person you want to add and click the three dots (⋮) icon next to their name. Click Group owner.

How to share a vault with a group
- Choose the vault you’d like to grant access to and click the three dots (⋮) icon

- Click Share.

- Click your organization’s name.

- Check the group you’d like to share the vault with and click Continue.
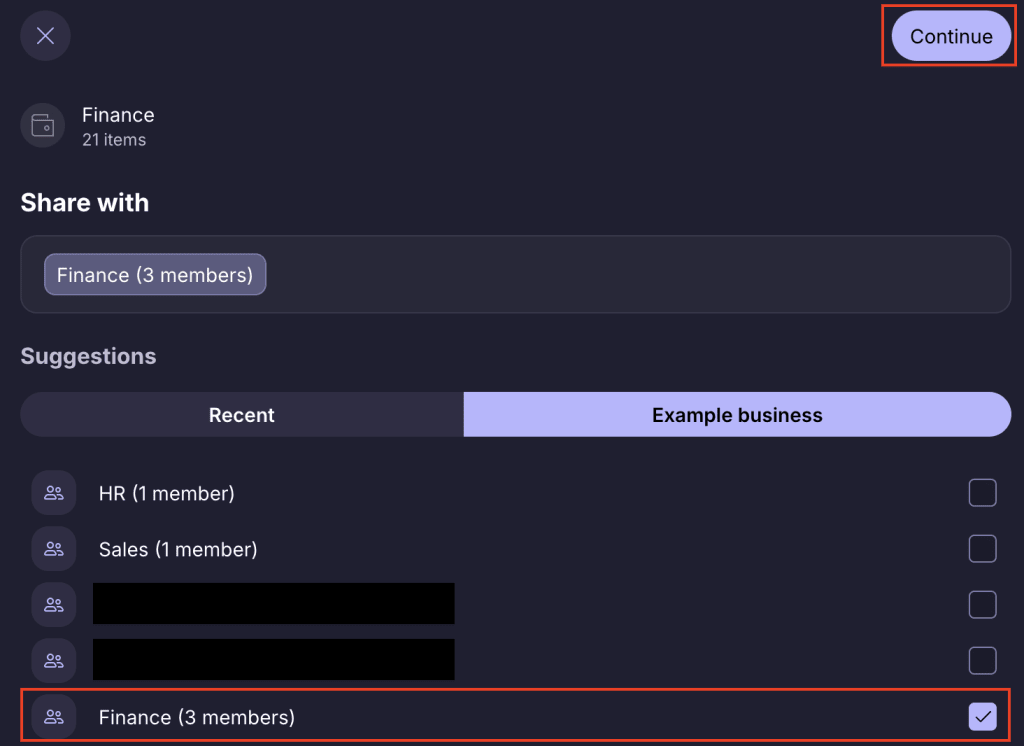
- Select an access level and click Continue. This will apply to all group members. Continue

- Review your choices and select Share vault.
This will send an invitation to all group members. When you add new people to the group, they’ll automatically have access to everything you’ve shared with the group.
How to share an item with a group
- Choose the item you’d like to share → Select the Share icon → Select With other Proton users

- Select the name of your organization → Choose the group you’d like to share the vault with → Select Continue
- Choose the access level you’d like to grant to members of the group → Select Continue

- Review your choices and select Share item to send an invitation to all group members. When you add new people to the group, they’ll automatically have access to everything you’ve shared with the group.

How to edit groups
- Sign in to your account and open the Admin panel.
- Under Organizations, click Groups.

- Choose the group you’d like to edit and select the Edit icon
- Edit the name or purpose and click Save.

Delete a group
- Sign in to your account and open the Admin panel.
- Under Organizations, click Groups.

- Select the ⋮ icon next to the group you’d like to delete. Click Delete group.

4. Confirm that you want to delete the group by selecting Delete group.
