How to use Proton Pass for Business
- Reading
- 4 mins
- Category
- Proton Pass for Business
In this guide, we go over how to get started with Proton Pass for Business. Note that we have a separate guide for administrators that goes over how to set up new users, assign permissions, and other high-level tasks.
Getting started with Proton Pass for Business
Proton Pass for Business provides three types of app to make managing your logins easy. The web app lets you quickly manage passwords, while the browser extension lets you generate and store new passwords while browsing and automatically fills in your credentials for existing accounts. Our mobile apps do the same for mobile browsing.
Learn more about the Proton Pass browser extensions
Download the Proton Pass extension for your browser
The Proton Pass web app doesn’t require any download — you can access it at pass.proton.me(new window).
Administrators automatically log into the web app when signing up to Proton Pass for Business. Regular users will receive an email with a link whenever they have been added to an organization.
In the web app, you’ll find a panel to your left that lets you access your different vaults (think of them as directories for your different items) at the top, as well as your options at the bottom.

If you’re the main admin of your team, to the left is the main control panel, where you have three options:
- Import data — Lets you import all items from another password manager
- Create a vault — Lets you make specific vaults if needed
- Share vaults — Allows you to go directly to sharing settings
- Install extension — An option to install the Proton Pass extension for web
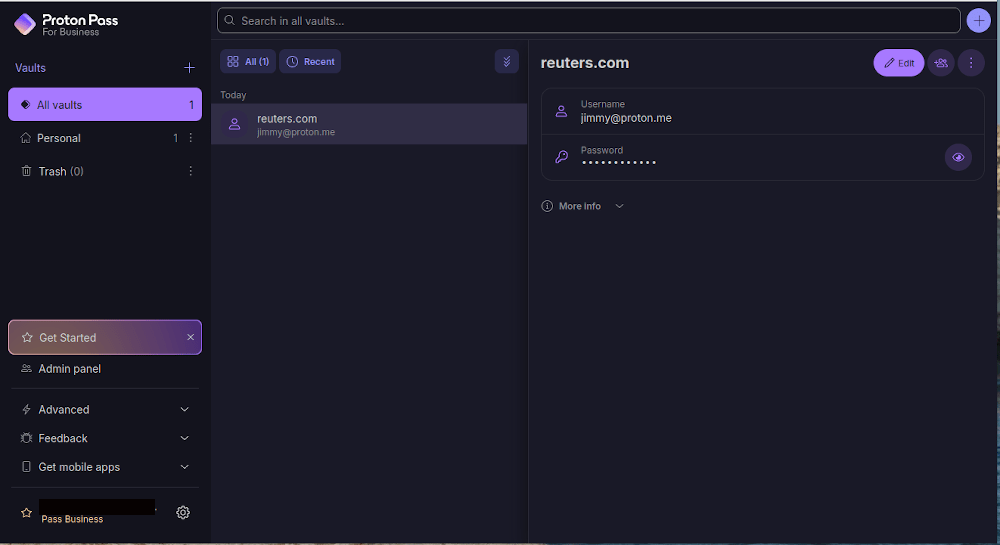
If Proton Pass has already been set up by somebody else on your team, you will see a different screen from the one above. The main screen will have a list of all your items (logins, passwords, cards, notes, etc.) and a panel on the right showing you the details for each item.
Learn how to use the Proton Pass web app.
Importing items into Proton Pass
We offer a full overview of how to import items into Proton Pass for all major password managers.
Securing your Proton Pass account
When getting started, you may want to secure your Proton account. You can set up two-factor authentication for your entire Proton account, we have a full guide on how to set up 2FA for your Proton account.
You can also set up a PIN for Proton Pass per device. Please check our guide on how to set up Auto-lock and PIN for Proton Pass.
How to create a new item
To create a new item manually in the web app, open the browser extension or web app and click on the plus symbol in the top right of the screen.

There, pick the type of item you’d like to add:
- Login — A combination of username and password for an online account.
- Card — For credit or debit cards, which will let you make purchases with the company card.
- Alias — For setting up an email alias, which lets you subscribe to services or hand out an email while keeping your real email address private.
- Note — For secure notes that don’t easily fit into the other categories — think a code to the office door, for example.
- Password — Our password generator can create a random password or a more easily remembered passphrase.
- Identity — For personal information, such as: full name, email, address, etc.
- Other — Custom fields for additional information, such as: passport, medical records, driver licence, etc.
To create a new item, select the type you want, then fill in the fields as instructed. Click on Create [item] when you’re done.

The browser extension can automatically add items when you create a new login, learn how to use the autosuggest and autosave functions. This includes using our hide-my-email feature to prevent phishing and spam.
When creating a new login, you can set up two-factor authentication (2FA) for it automatically.
Learn how to set up 2FA using Proton Pass
Editing an item
To edit an item, select it from the center of the screen, then click the Edit button.

Creating vaults
Vaults serve as directories for your logins and other items, letting you organize them per team within your company. Note that in Proton Pass, you set sharing permissions per vault.
To create a new vault, click on the Plus icon in the top of the left-hand pane of the web app.
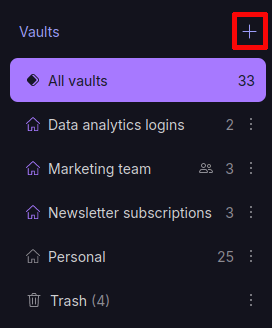
From there, pick a name, color code, and icon for the vault, and click Create vault.

Sharing vaults
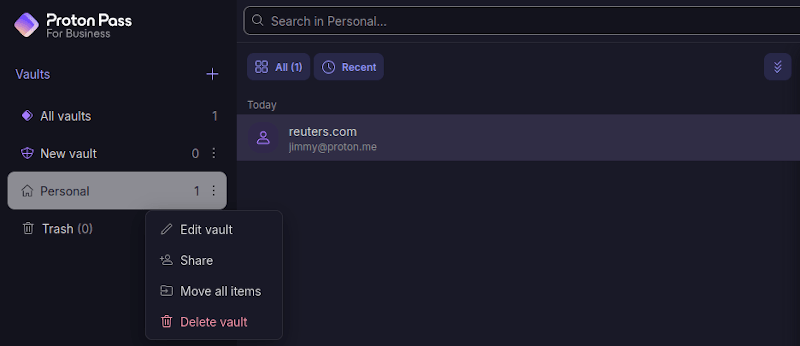
To share a vault, click on the three vertical dots to the right of any vault and select Share from the pop-up menu.
You can then enter the email addresses of the people you want to share with or pick from a list of team members.
Revoke sharing permissions
You can revoke permissions at any time. To do so, click on the three vertical dots next to a vault’s name and select Manage access.

In the new screen, select the three vertical dots next to the users’ name and select Remove access.
