How to use appointment scheduling in Proton Calendar
- Lecture
- 3 minutes
- Catégories
- Manage events
- Proton Calendar
- Using Proton Calendar
With appointment scheduling in Proton Calendar, you can create booking pages and share your availability with others so they can schedule a meeting at a time that suits you both. Attendees can see when you’re free, but they can’t see any of your calendar event details.
You can customize your availability, set meeting durations, set up meetings through Proton Meet, and add information that attendees should know before they book. Your booking pages sync with your calendars to ensure your availability is always up-to-date. All booking details are protected with zero-access encryption.
Appointment scheduling is available on paid Proton plans. Mail Essentials, Plus, Unlimited, Duo, and Family include 1 booking page, while Workspace and Meet Professional include 25 booking pages.
Create a booking page
- Go to account.proton.me/calendar and sign in.
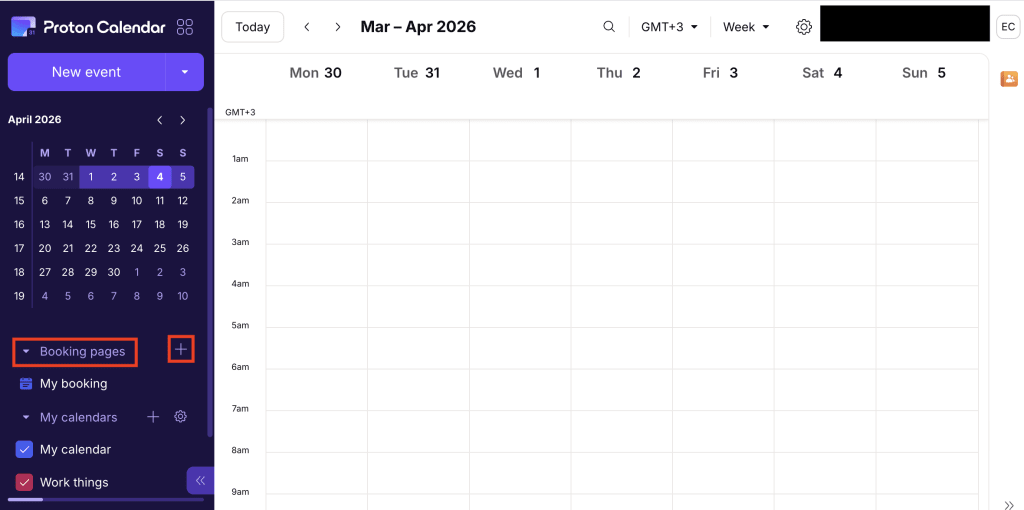
- On the sidebar, click + next to Booking pages.
- Add a title. This is what attendees see when they open your booking page.
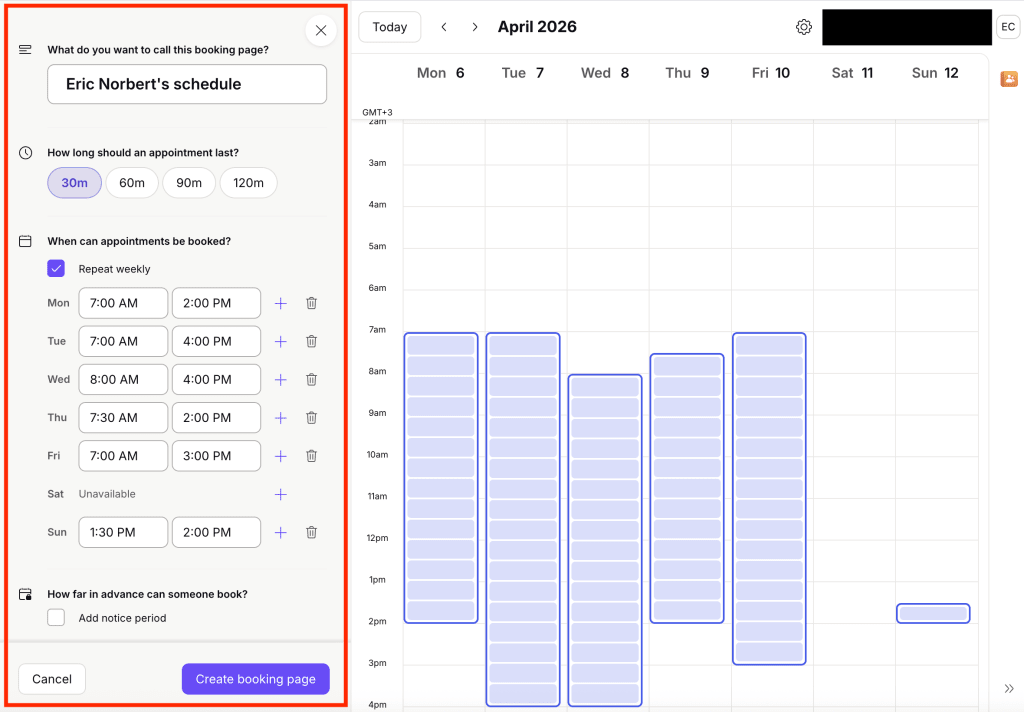
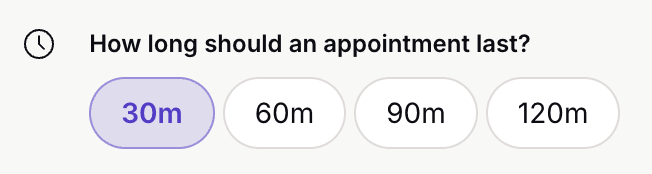
- Select how long the meeting should last.
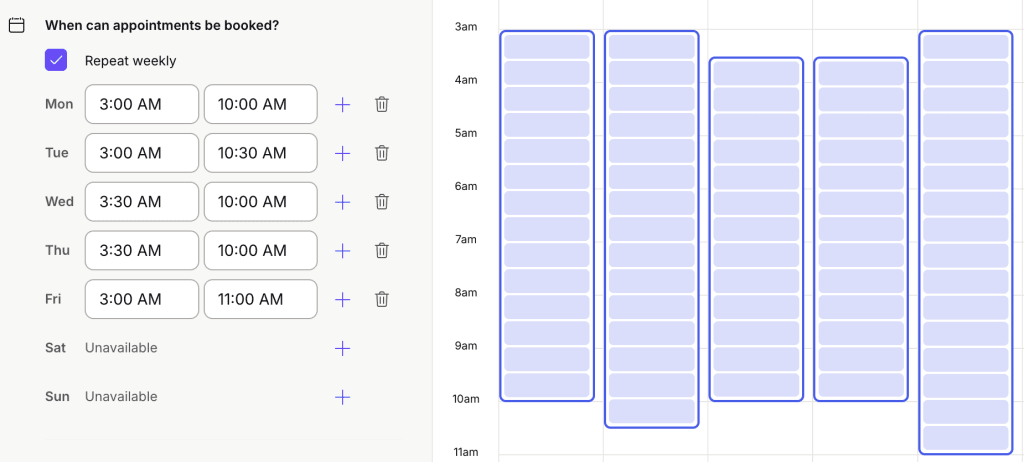
- Add your availability
- To set up a weekly event, make sure Repeat weekly is checked. You’ll then be able to enter one or more time ranges for each day of the week.
- To set up a one-off event, uncheck Repeat weekly. You’ll then be able to enter time ranges
Days (or dates) with no time ranges selected will show up as Unavailable on your booking page. You can also create or adjust availability slots directly in the calendar grid using drag and drop.
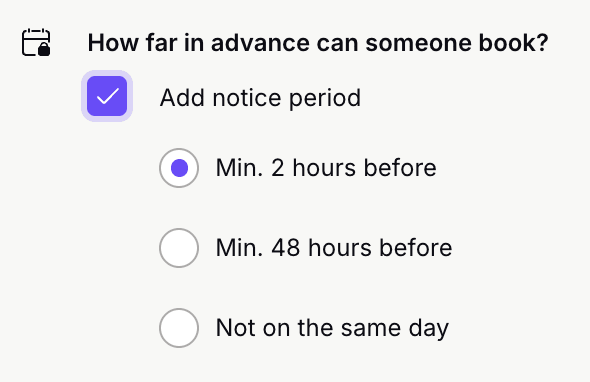
- Set how far in advance someone can book by enabling Add notice period. You can require bookings to be made at least 2 hours before, at least 48 hours before, or not on the same day.
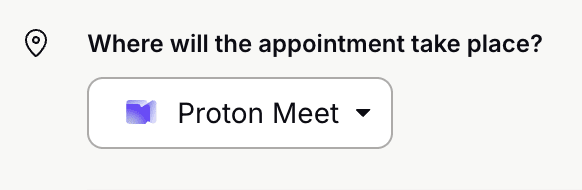
- Select where your meeting will take place:
- To set up a virtual meeting, select Proton Meet. A Proton Meet secure link will be created automatically, and attendees can join even without a Proton account. Learn more about using Proton Meet.
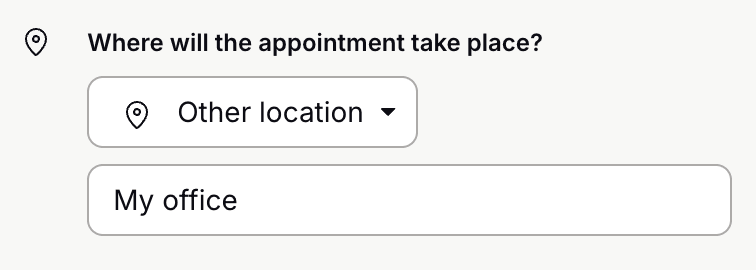
- To set up an on-site meeting, or to add a meeting link other than Proton Meet, select Other location. The location field will open automatically, where you can enter an address, link, or other meeting details. For example, you can add a Zoom link, but we don’t offer support for auto-creating Zoom links the same way we do for Meet.
- Choose the calendar where booked appointments will appear.
- Attendees will be able to see the email address associated with the calendar you choose for booked appointments.
- You can also sync availability from other calendars, whether they’re your own or calendars shared with you. If you add an event that conflicts with an available time slot, that slot will no longer appear on your booking page.

- Enter any notes or instructions your attendees should know before booking, such as meeting location or how far in advance they can book.
- To confirm and create your page, click Create booking page.

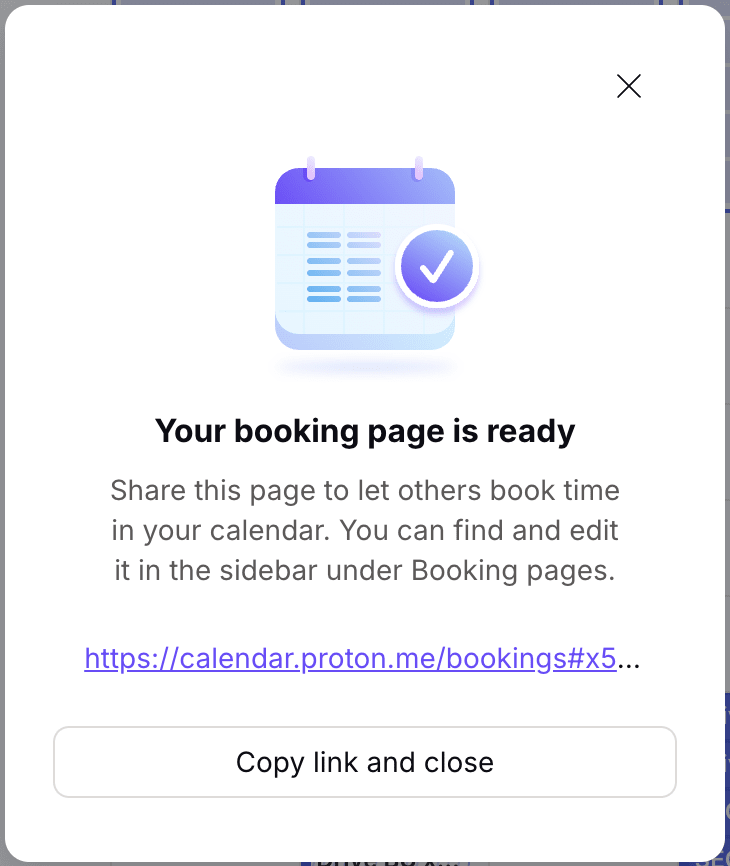
You’ll see a confirmation window with the link.
How to view your booking pages
To view and manage the booking pages you’ve created, go to account.proton.me/calendar and click Booking pages in the sidebar to expand this menu.
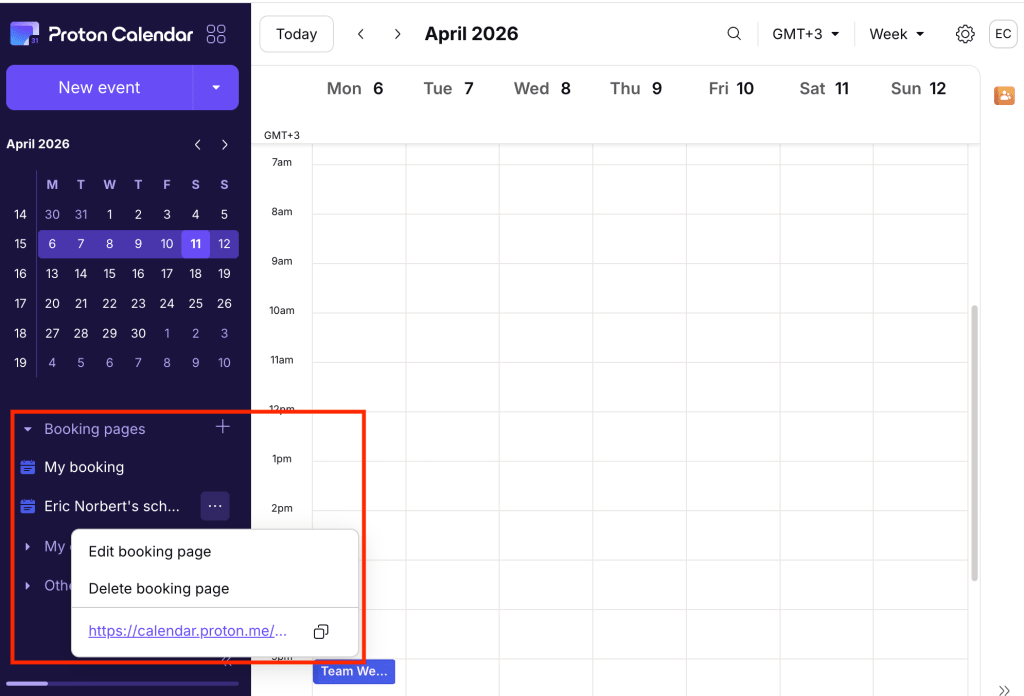
You can click the ellipsis … next to any booking page to edit it, delete it, copy the link, or click to open it and view your booking page.
Schedule an appointment on a booking page
- Open the booking link. All Proton Calendar booking links begin with calendar.proton.me/bookings#. You can see the appointment title, duration, host, and location.

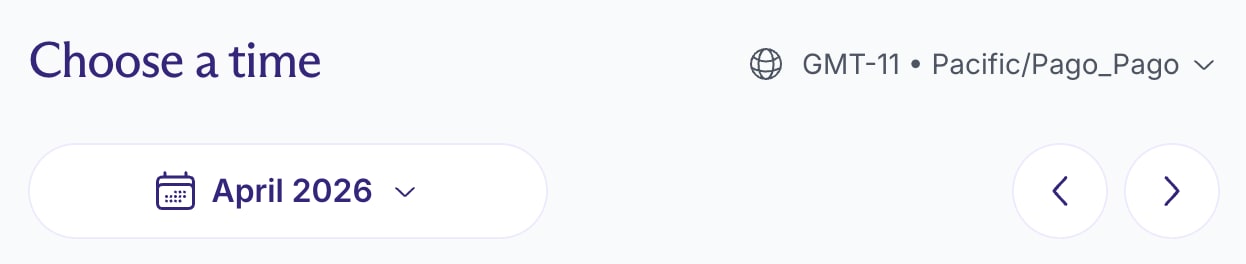
- Choose a time slot. You can use the month dropdown and chevrons < > to browse availability. If you’re booking from a different time zone, you can select your own time zone to see available times adjusted automatically.
- Enter your name and email address, then confirm your booking.
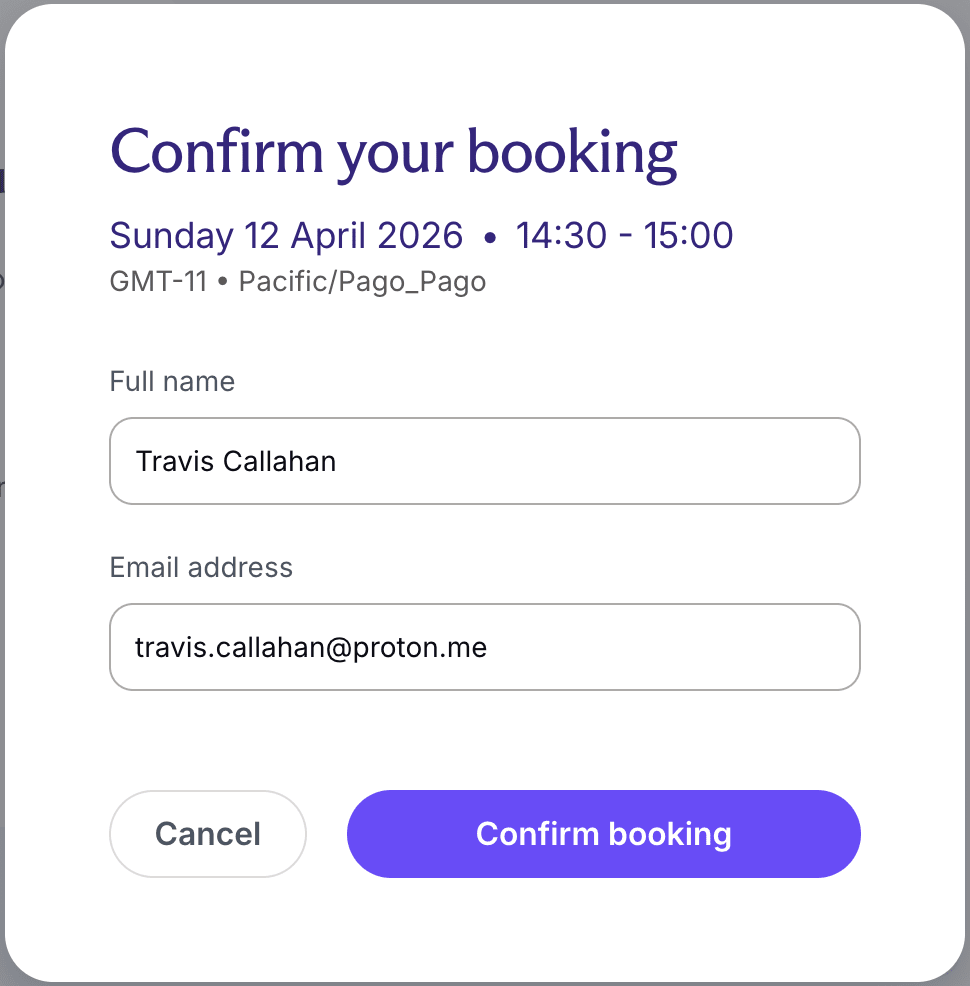
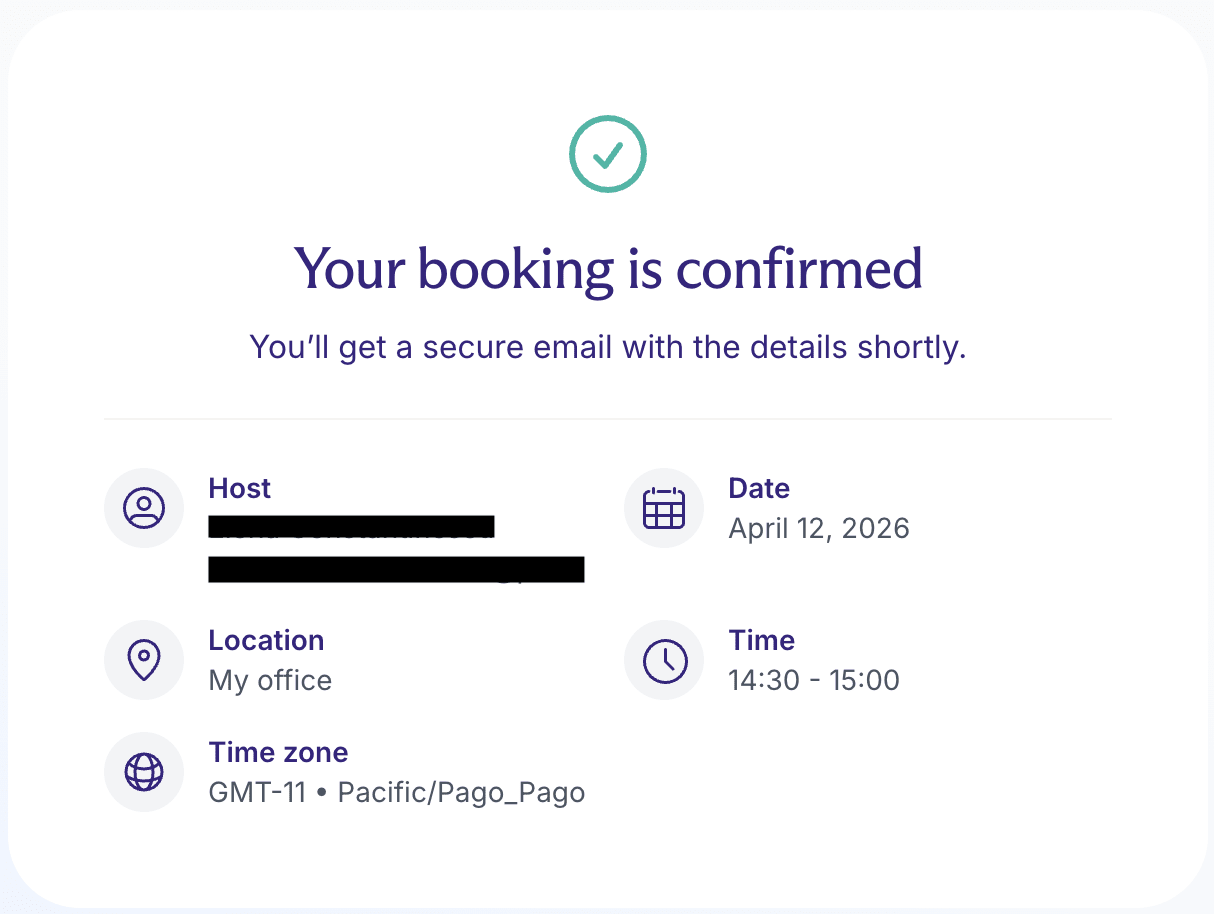
- View booking confirmation with all the details. A confirmation email is sent automatically.