How to import and export emails
- Reading
- 3 mins
- Category
- Migration guides
Proton offers several options to import and export your emails.
Easy Switch
Our Easy Switch tool makes it easy to migrate your emails and contacts from your old email service to Proton Mail. Easy Switch is available to everyone with a Proton Mail account.
Proton Mail Export Tool
We offer a command-line tool for Windows, macOS, and Linux that allows you to export all your emails as EML files, and their metadata as JSON files. EML messages can then be imported into any email client. For example, Thunderbird or Outlook.
Learn how to use the Proton Mail Export Tool
Export individual emails
Everyone with a Proton Mail account can download individual emails.
1. Sign in to mail.proton.me(new window) and open the email you want to save.
2. Under the sender details, you’ll see a row of icons. Click the three dots (More) icon, then select Export from the menu.
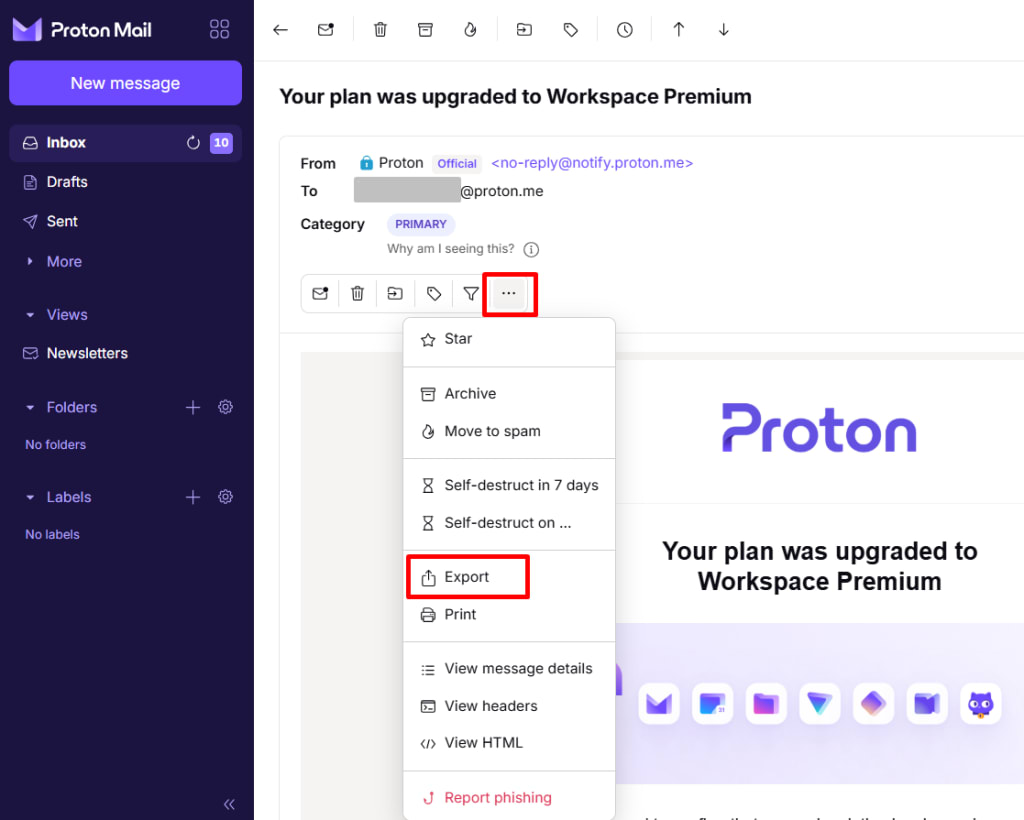
3. Choose a location to save the email on your device.
4. Click on Save.
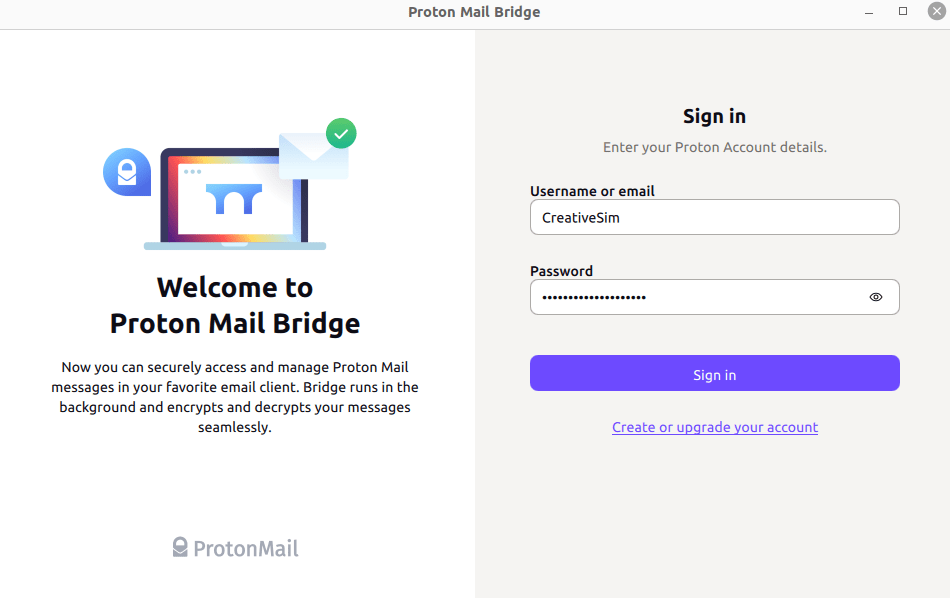
Proton Mail Bridge
Proton Mail Bridge is an open-source application that allows you to fully integrate your Proton Mail account with any program that supports IMAP and SMTP. This includes Microsoft Outlook, Mozilla Thunderbird, and Apple Mail.
It is available to anyone with a paid Proton Mail plan.
Learn more about Proton Mail Bridge(new window)
Proton Mail Bridge downloads all your emails to your email client, where they are stored locally. If you wish, you can export them further using your email client’s built-in Export function. Instructions for doing this are available for:
This support article will also show you how to import and export MBOX / EML files using Proton Mail Bridge and Mozilla Thunderbird.